


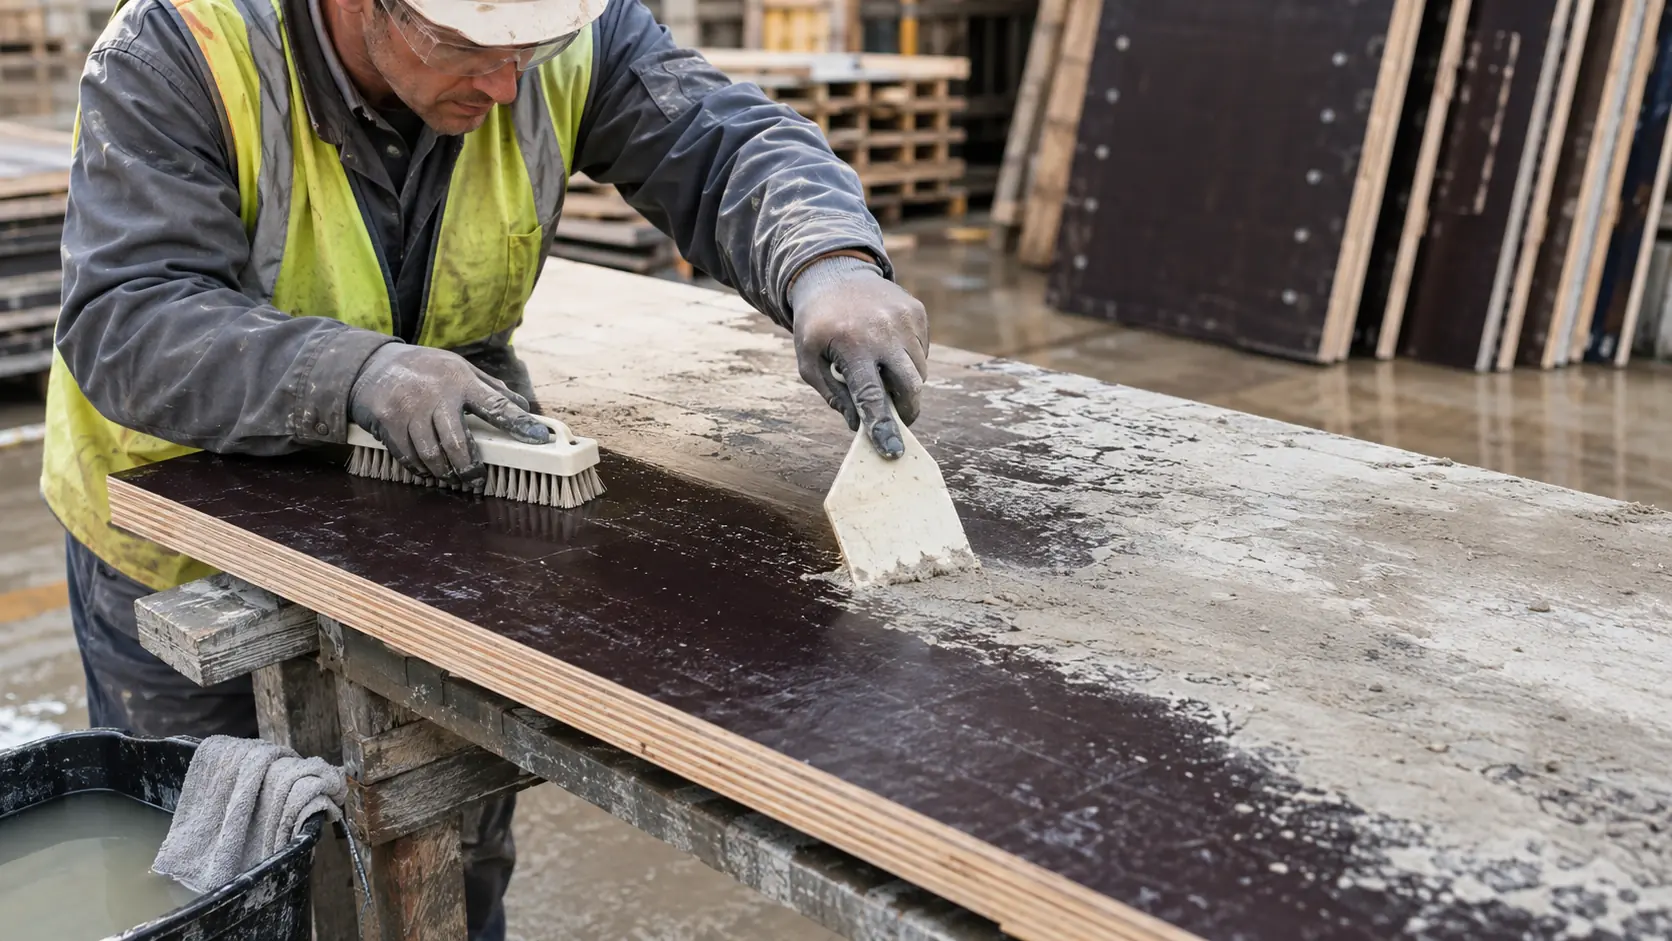
This guide organizes maintenance by time: immediately after stripping, before the next pour, before storage and before reuse. Always follow the formwork system, panel, cleaner and release-agent instructions for the actual project. If crews need a material overview first, start with the film faced plywood guide.
Film Faced Plywood Cleaning SOP: Quick Version
- Lower and handle the panel without dropping or dragging it.
- Identify the panel or batch and record the completed pour.
- Remove fresh residue promptly with an approved plastic or wood tool.
- Use only the water and cleaning method confirmed for the film.
- Do not gouge the surface or force water into damaged edges.
- Allow the sheet to dry with airflow.
- Inspect film, edges, holes, core, flatness and bond.
- Repair and reseal only within the approved procedure.
- Reclassify the sheet for exposed, standard, concealed, hold or retired use.
- Store flat, raised, covered and ventilated.
International formwork supplier PERI advises cleaning panels immediately after removal, using suitable tools, avoiding high-pressure water cleaning and storing panels on a level surface protected from water and direct sunlight. These are sound general principles, but the exact procedure should still match the supplied formwork plywood.

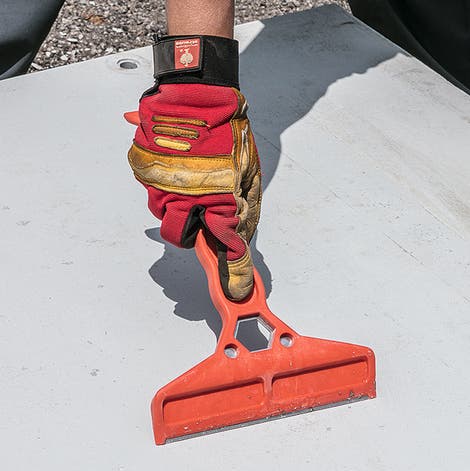
Cleaning Tools to Use and Avoid
| Generally suitable when approved | Why |
|---|---|
| Plastic scraper | Removes soft residue with lower risk of cutting the film |
| Wood wedge or wood scraper | Useful for localized residue without a sharp metal edge |
| Nylon or stiff fiber brush | Loosens dirt and light concrete paste |
| Soft cloth or non-abrasive pad | Cleans release-agent film and fine contamination |
| Low-pressure rinse or damp cleaning | Removes loosened material when the panel system permits it |
| Approved mild cleaner | Can address oil or dirt when compatibility is documented |
| Avoid unless a manufacturer specifically approves it | Main risk |
|---|---|
| Metal blade, chisel or wire brush | Scratches or punctures the protective film |
| Angle grinder or aggressive power tool | Removes overlay and damages panel thickness |
| Uncontrolled high-pressure washer | Forces water into edges and can lift film or damage repairs |
| Harsh acid or alkaline cleaner | May attack film, coating, wood or glue and creates safety risks |
| Unknown solvent | Can soften resin, leave contamination or create fire and health hazards |
| Open flame or concentrated heat | Damages resin, dries wood unevenly and creates a fire hazard |
Workers should use the personal protective equipment, ventilation and waste controls required for concrete residue, release agent and any approved cleaning product.
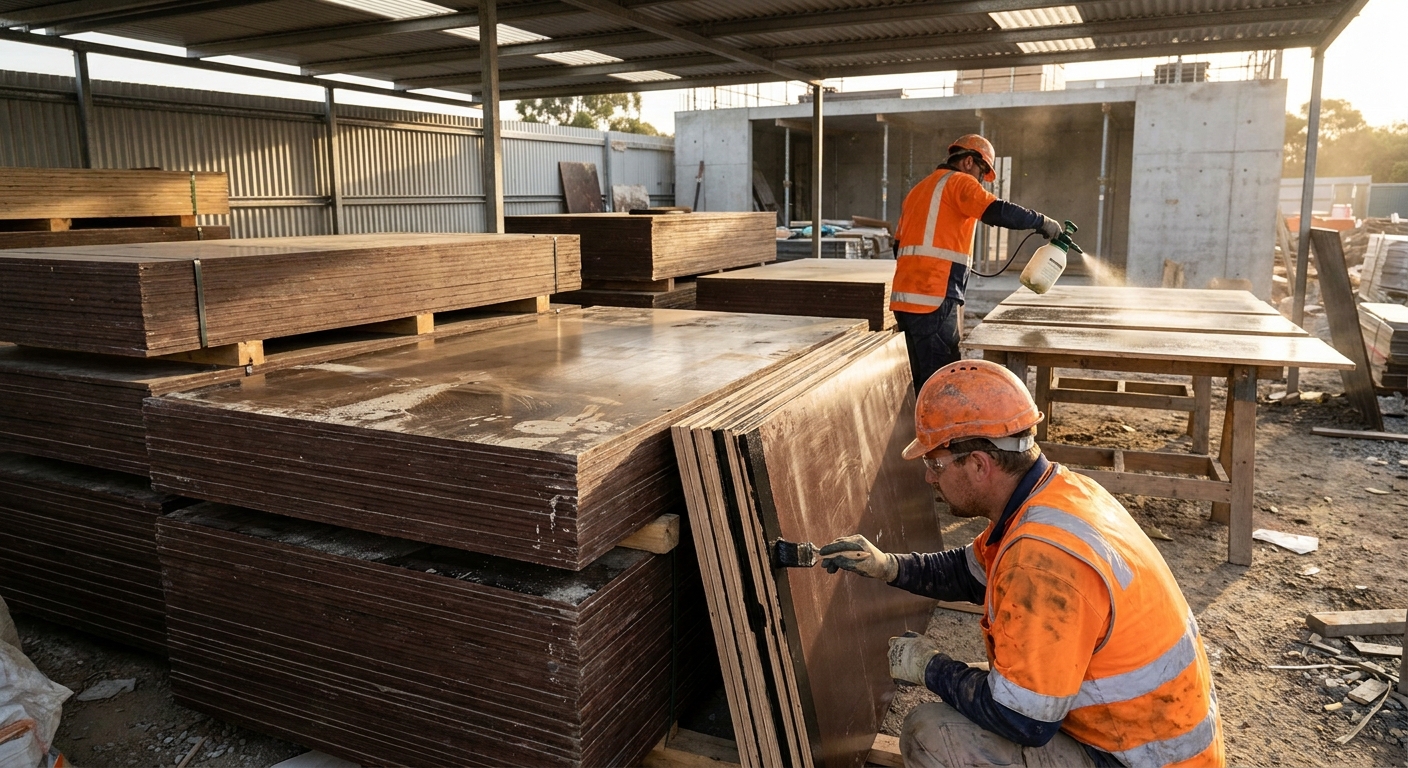
Step-by-Step Cleaning Procedure
Step 1: Handle panels carefully during stripping
Many maintenance problems begin before cleaning. Use the approved stripping sequence and tools. Avoid levering directly against the film, tearing fasteners through the face or dropping panels onto corners. Keep stripped sheets away from traffic and reinforcing steel.
Step 2: Record the panel’s use
Mark the panel ID or record the bundle, location and pour number. Note unusual concrete adhesion, leakage, impact or weather. This information helps distinguish a one-time incident from a recurring product or process issue.
Step 3: Remove fresh concrete residue
Begin as soon as the panel is safely available. Hold the plastic or wooden scraper at a shallow angle and work without digging into the film. Start at a clear edge of the residue. Do not strike the panel hard enough to crush the core.
Step 4: Brush and rinse as approved
Use a nylon or fiber brush to loosen remaining paste. Apply only the amount of water needed for the procedure. Keep the panel from sitting in dirty water, and avoid directing water into open holes or damaged edges. Collect wash water and concrete residue according to site environmental requirements.
Step 5: Address oily contamination
Uneven release-agent build-up attracts dirt and may stain the next pour. Wipe excess and use only a cleaner confirmed as compatible with the film and release system. Rinse or remove cleaner residue as directed. Never mix chemicals on site without an approved method.
Step 6: Dry with ventilation
Stand or rack panels safely so air reaches both faces and edges, or follow the approved stacking procedure with separators. Protect them from rain and direct intense sun. Do not seal damp panels inside wrapping.
Step 7: Inspect under good lighting
Cleaning should reveal the real condition of the film, edges and repairs. Inspect before applying more release agent, since oil can hide scratches and contamination.
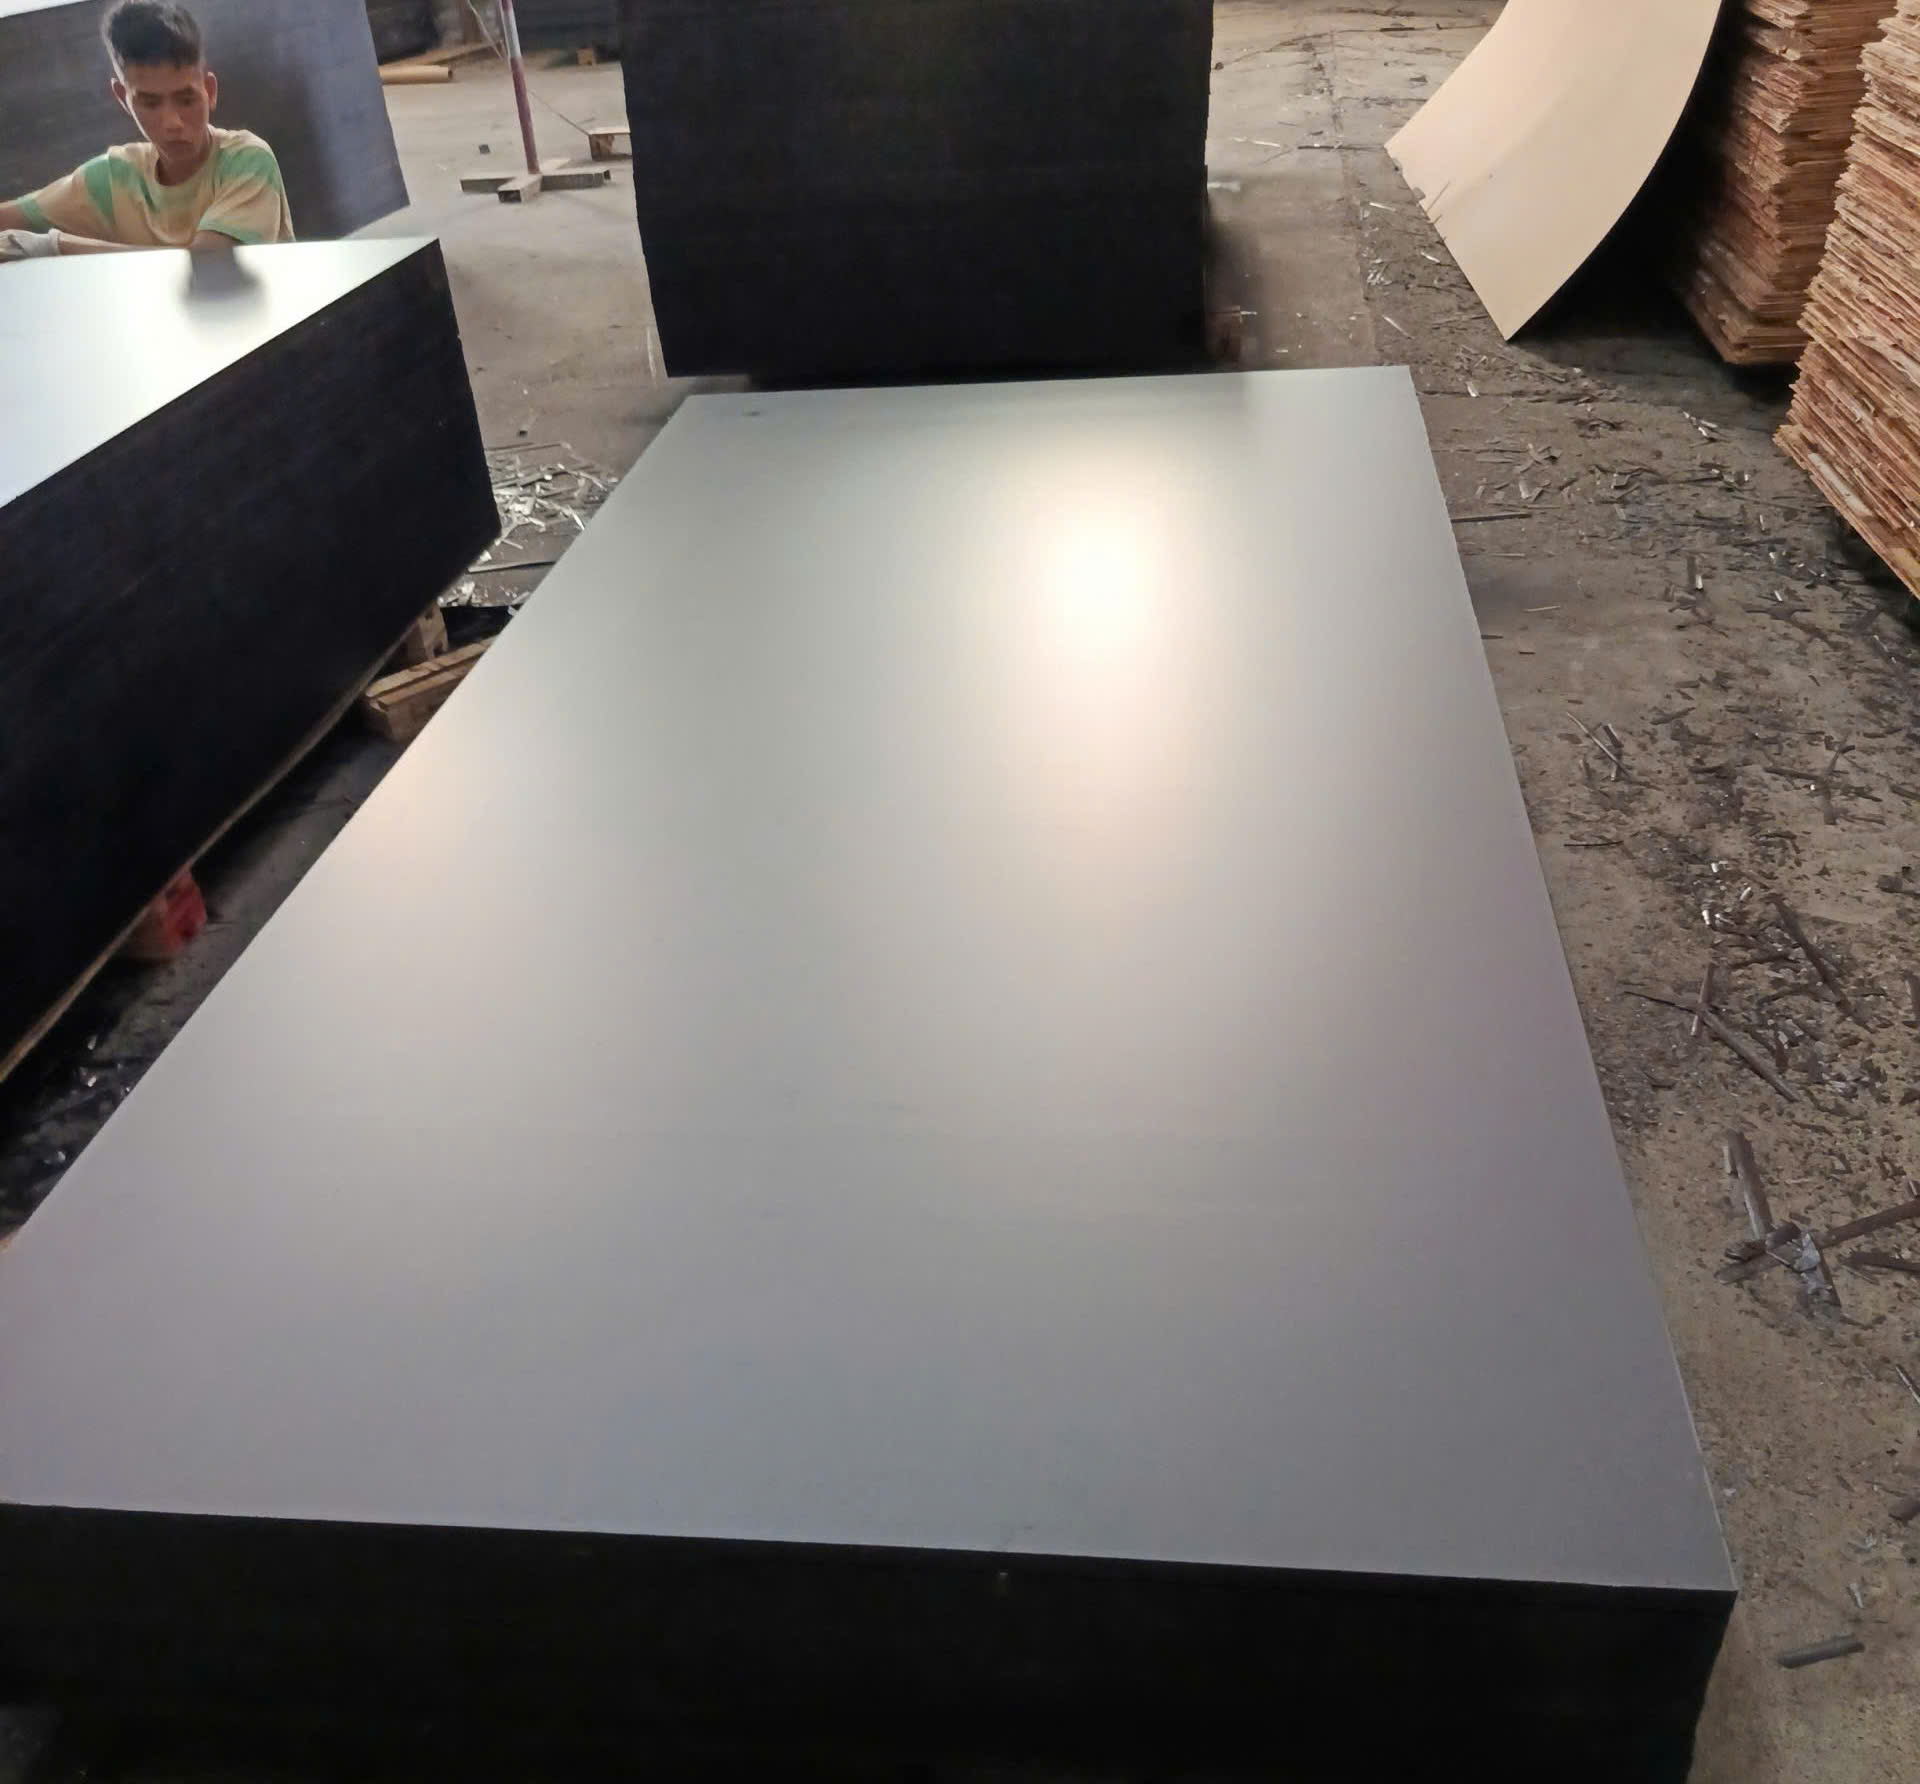
How to Handle Different Types of Residue
Fresh cement paste
Remove it promptly with non-damaging tools and the approved light rinse. This is the best opportunity to clean without high force.
Hardened concrete spots
Do not reach immediately for a steel chisel. Work around the edge with an approved scraper and determine why the concrete adhered. If removal would tear the film, the panel may need a repair or finish downgrade. Prevent recurrence by reviewing release agent, film condition and cleaning timing.
Release-agent build-up
Heavy or uneven oil can collect dust, transfer marks and interfere with a consistent finish. Remove the excess with a compatible method. Before the next use, apply only a thin, even coat at the correct coverage.
Mud and abrasive grit
Rinse or lift grit before wiping. Dragging sand across the face can scratch the film. Improve storage so panels do not lie directly on soil.
Rust or metal marks
First remove the source and determine whether the mark is superficial. Chemical rust removers can attack the surface and should not be used without compatibility confirmation. A stain that will transfer to exposed concrete may require the sheet to be reclassified.
Unknown contamination
Quarantine the panel until the substance and safe removal method are known. Do not use unlabelled solvents or burn off material.
Post-Clean Inspection Checklist
| Area | What to check | Why it matters |
|---|---|---|
| Film face | Scratches, pinholes, lifting, worn areas and residue | Affects release, moisture protection and concrete finish |
| Edges | Missing coating, swelling, splits and open glue lines | Primary path for water entry |
| Holes | Breakout, moisture, residue and seal condition | Exposes core through the thickness |
| Corners | Crushing, delamination and film lifting | Common handling damage and joint problem |
| Core | Visible gaps, loose veneers or soft areas | Can affect strength, stiffness and reuse |
| Panel shape | Bow, cup, twist and local deformation | Affects support and joint alignment |
| Fastener zones | Torn holes, splits and repeated damage | Can reduce holding and edge integrity |
| Previous repairs | Adhesion, cracking, loss and finish effect | Determines whether repair remains serviceable |
Record the condition with panel identity and photographs when the project tracks reuse. The guide to common plywood defects helps distinguish surface wear from core, bond and dimensional problems.
Repair and Reseal After Cleaning
Carry out only repairs allowed by the panel, formwork system and project procedure. Possible maintenance includes resealing sound field cuts, protecting approved tie holes and restoring localized surface areas with a compatible repair system.
Before repair:
- Confirm the panel is dry and structurally sound.
- Remove loose material and contamination.
- Identify the correct repair product and safety instructions.
- Prepare the surface without extending damage.
- Apply, cure and inspect the repair.
- Record how the repair changes the panel’s finish classification.
Keep cuts clean by following the principles in how to cut plywood without splintering, then use a compatible edge-protection system for the actual panel. Do not paint over swelling, delamination or a crushed core.
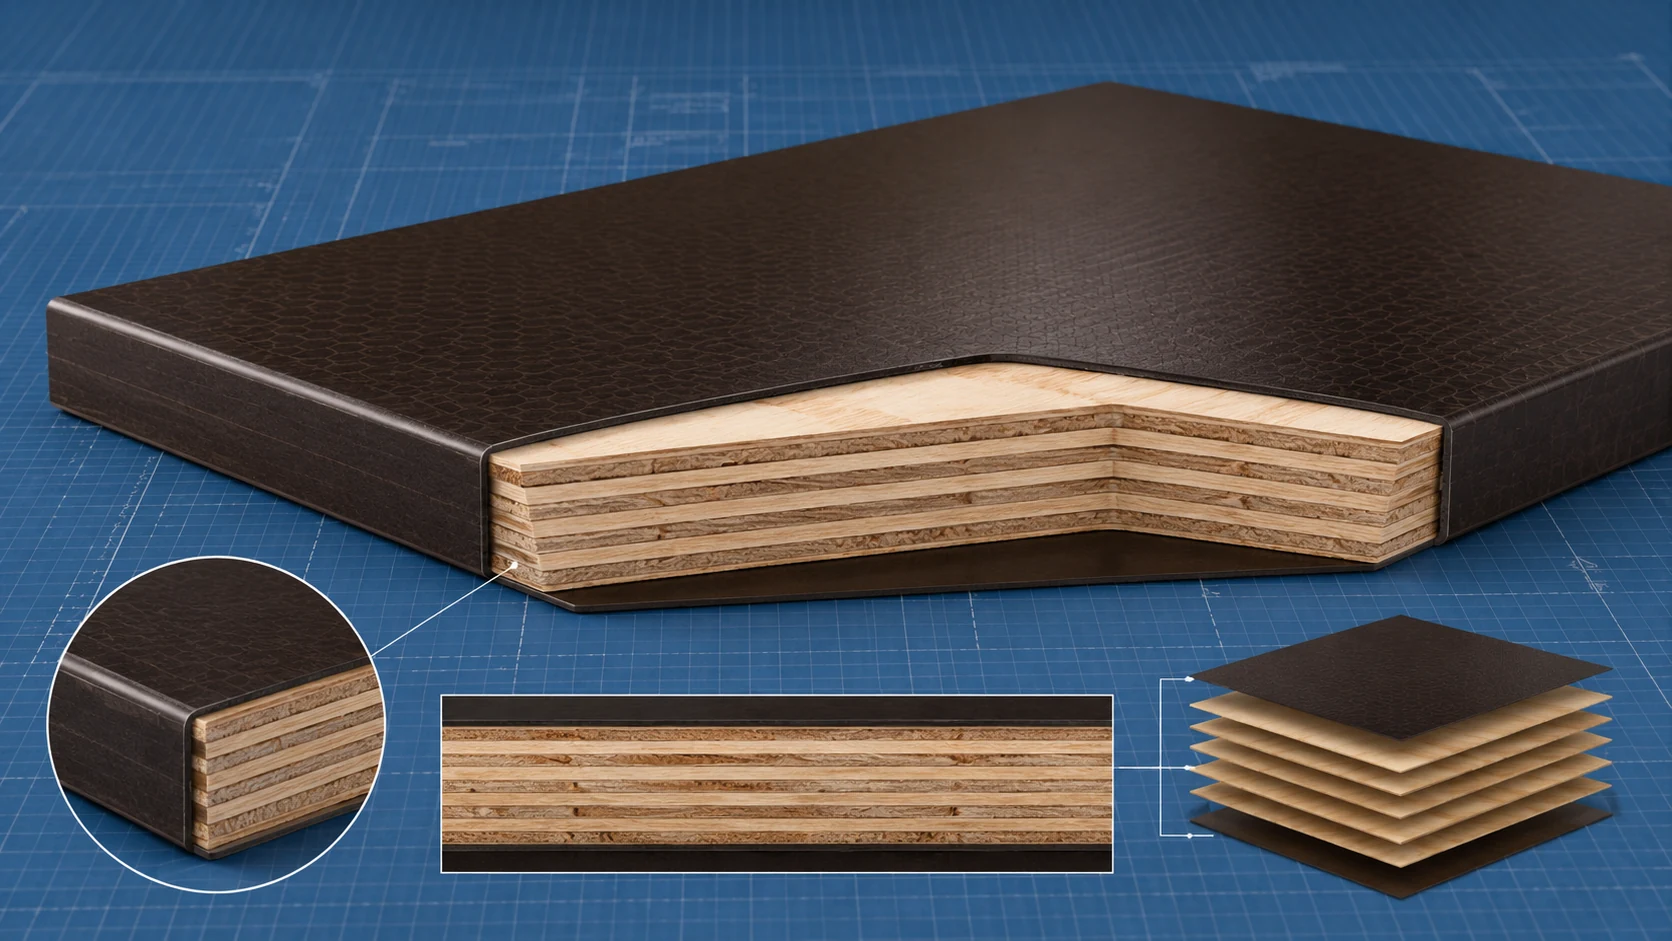
Prepare the Panel for the Next Pour
A release agent creates a controlled barrier between concrete and the forming surface. Select one compatible with the panel and concrete-finish requirement. Review environmental, worker-safety and application instructions.
- Apply to a clean, dry and inspected face.
- Use the manufacturer’s coverage and application method.
- Create a thin, uniform film rather than puddles.
- Prevent contamination of reinforcement and construction joints.
- Keep treated panels clean until the pour.
- Do not use waste oil or an unapproved substitute.
Release agent cannot compensate for a badly worn film. If the panel surface no longer meets the finish requirement, downgrade or retire it instead of applying more oil.
How to Store and Transport Clean Panels
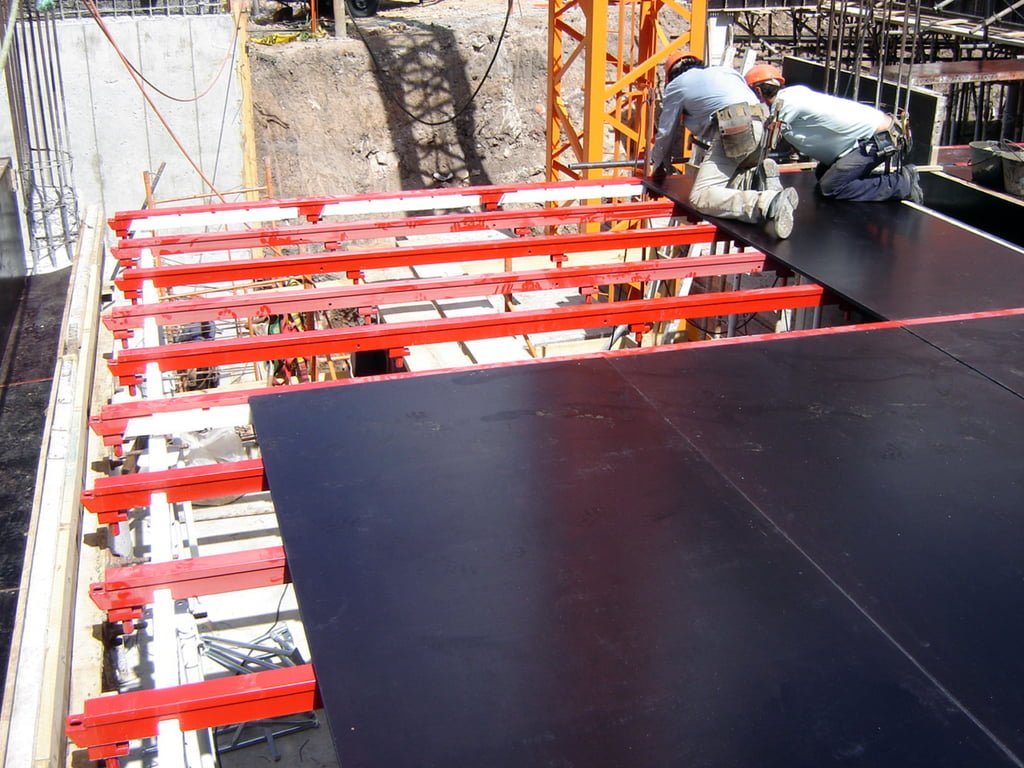
Short-term storage between pours
- Place sheets on level, aligned bearers.
- Keep them off the ground and away from standing water.
- Protect the stack from rain and direct sun.
- Allow ventilation, especially when panels were recently washed.
- Keep grit, reinforcing steel and waste off the faces.
- Separate different condition classes so worn sheets do not enter high-finish work.
Longer storage
Clean and dry panels thoroughly, complete repairs, use level support and protect bundle edges. Periodically inspect for water entry, mold, strap damage and distortion. Maintain labels and reuse records. The storage principles overlap with those used when protecting plywood for outdoor exposure, but the panel supplier’s limits remain authoritative.
Transport around site
Lift bundles using approved equipment and protected contact points. Do not drag sheets across one another or the ground. Secure stacks without crushing the edges. Protect corners when using straps and forks.
When to Downgrade or Retire Film Faced Plywood
A cleaned panel should be assigned to the next application only after inspection. Possible decisions include:
- Return to high-finish work: film and panel remain within the strict finish and structural criteria.
- Use for standard or concealed concrete: approved minor wear or repairs may show but panel remains otherwise suitable.
- Hold for assessment: uncertain soft spots, swelling, distortion, contamination or bond concerns.
- Retire from formwork: structural damage, progressive delamination, unacceptable warp, major edge failure or condition outside project limits.
The approved professional should evaluate structural concerns. A panel that has reached the end of forming service may be repurposed only where safe, legal and appropriate; contaminated or damaged material may require controlled disposal.
Track actual performance by panel or batch and compare the next intended use with the condition and finish criteria in the formwork plywood guide.
Printable Daily Maintenance Checklist
- ☐ Panels lowered without dropping or dragging
- ☐ Panel or batch and pour recorded
- ☐ Fresh concrete residue removed promptly
- ☐ Only approved non-damaging tools used
- ☐ Faces and edges dried with ventilation
- ☐ Film, edges, holes, corners and flatness inspected
- ☐ Damage photographed and classified
- ☐ Approved repairs and edge sealing completed
- ☐ Release agent applied evenly before next use
- ☐ Sheets classified for the next location
- ☐ Stack flat, raised, covered and ventilated
- ☐ Hold and retired panels physically separated
Frequently Asked Questions
When should film faced plywood be cleaned?
As soon as it is safely available after stripping, before concrete residue fully hardens. Prompt cleaning usually requires less force and reduces film damage.
Can I pressure wash film faced plywood?
Avoid uncontrolled high-pressure washing. It can damage film and force water into edges and repairs. Use only a method specifically approved for the panel system.
Can I use soap?
Use only a mild cleaner whose compatibility is confirmed. Remove residues as directed because contamination can affect release and concrete appearance.
Should release agent be applied after cleaning?
Apply it to the clean, dry, inspected face before the next pour according to the release-agent and formwork instructions. Do not use it to hide damage.
How should panels be stacked?
Stack flat on aligned level bearers, off the ground, protected from water and direct sun, with enough ventilation to avoid trapped moisture.
Protect the Panel Specification You Purchased
Quality production creates the potential for reuse. Site handling determines how much of that potential remains. Ask Kosmex for the product-specific handling and edge-protection information available for your order, then integrate it into the crew’s maintenance SOP.





Bình luận