


Start with the Approved Purchase Specification
Inspection cannot answer “is this high quality?” until the buyer defines what was ordered. An economy panel for limited concealed work and a stress-graded panel for repeated exposed-concrete pours should not share the same acceptance criteria.
The approved specification should state:
- product name and intended application;
- manufacturer and approved production site;
- length, width, thickness, tolerances and squareness;
- core species, construction, number of plies where relevant and permitted defects;
- adhesive system and required bond classification or test;
- film type, color, grammage, surface and acceptance criteria;
- factory edge-sealing system;
- structural grade or declared mechanical properties when required;
- moisture requirement and measurement method;
- marking, certificate, test report and traceability requirements;
- packing, bundle protection and container quantity;
- sampling plan, defect classification and disposition procedure.
Require the supplier to identify deviations in writing. A quotation that silently changes the glue, film or core is not compliant merely because the dimensions match. Use the film faced plywood guide to define the product category and the supplier-document checklist to define its evidence pack.

Three Stages of Film Faced Plywood Inspection
1. Pre-production approval
Approve the technical data, sample, film, core, adhesive, edge coating, marking and document list before mass production. A signed reference sample can help align appearance, but destructive checks and test evidence are still needed for hidden construction.
Confirm change control. The supplier should not change veneer species, adhesive formula, film source, factory or critical process without approval when those variables are locked in the purchase order.
2. Pre-shipment inspection
Inspect finished goods when enough of the order is complete and accessible. Select samples across bundles and positions, not only prepared top sheets. Check physical panels, labels, documents and packing. Where the quality plan requires laboratory tests, ensure the sample identity connects to the inspected batch.
3. Receiving inspection
At arrival, record container and packaging condition before unloading. Check water entry, shifted bundles, crushed corners and label consistency. Verify quantity and resample the goods before releasing them to production or a construction site. If conditions differ from the pre-shipment report, quarantine the affected material.
Sampling Plan and Inspection Tools
The contract should define lot size, sample size, selection method and acceptance limits. AQL-based plans may be used when agreed, while critical structural or compliance characteristics can require stricter control. Do not invent a sample size after a dispute occurs.
Sampling principles
- Identify the inspection lot and ensure bundles are complete and traceable.
- Select samples from different pallets, heights and container positions.
- Use random selection rather than allowing only supplier-chosen sheets.
- Record every sample number and return location.
- Define which tests are non-destructive and which require sacrificial sheets.
- Keep sealed reference or dispute samples when the commercial risk justifies it.
Typical tools
- calibrated tape measure and straightedge;
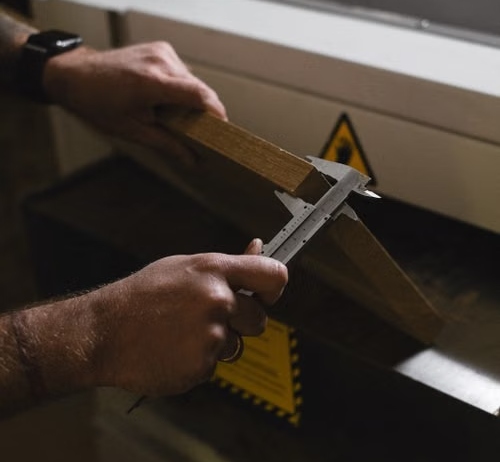
- caliper or micrometer suitable for panel thickness;
- square or diagonal measurement method;
- level reference or flatness method;
- moisture meter appropriate for wood products;
- scale when panel weight or density is specified;
- good directional lighting and defect scale;
- camera with sample identification in each image;
- approved equipment for any on-site bond or destructive check.
Instrument calibration, measurement location and conditioning should be recorded. A number without a repeatable method has limited value.
Check Dimensions, Squareness, Flatness and Stability
Length and width
Measure the panel at the locations defined in the inspection plan. Undersized sheets can create joint gaps; oversized sheets create cutting and layout problems. Record actual readings rather than “pass” only.
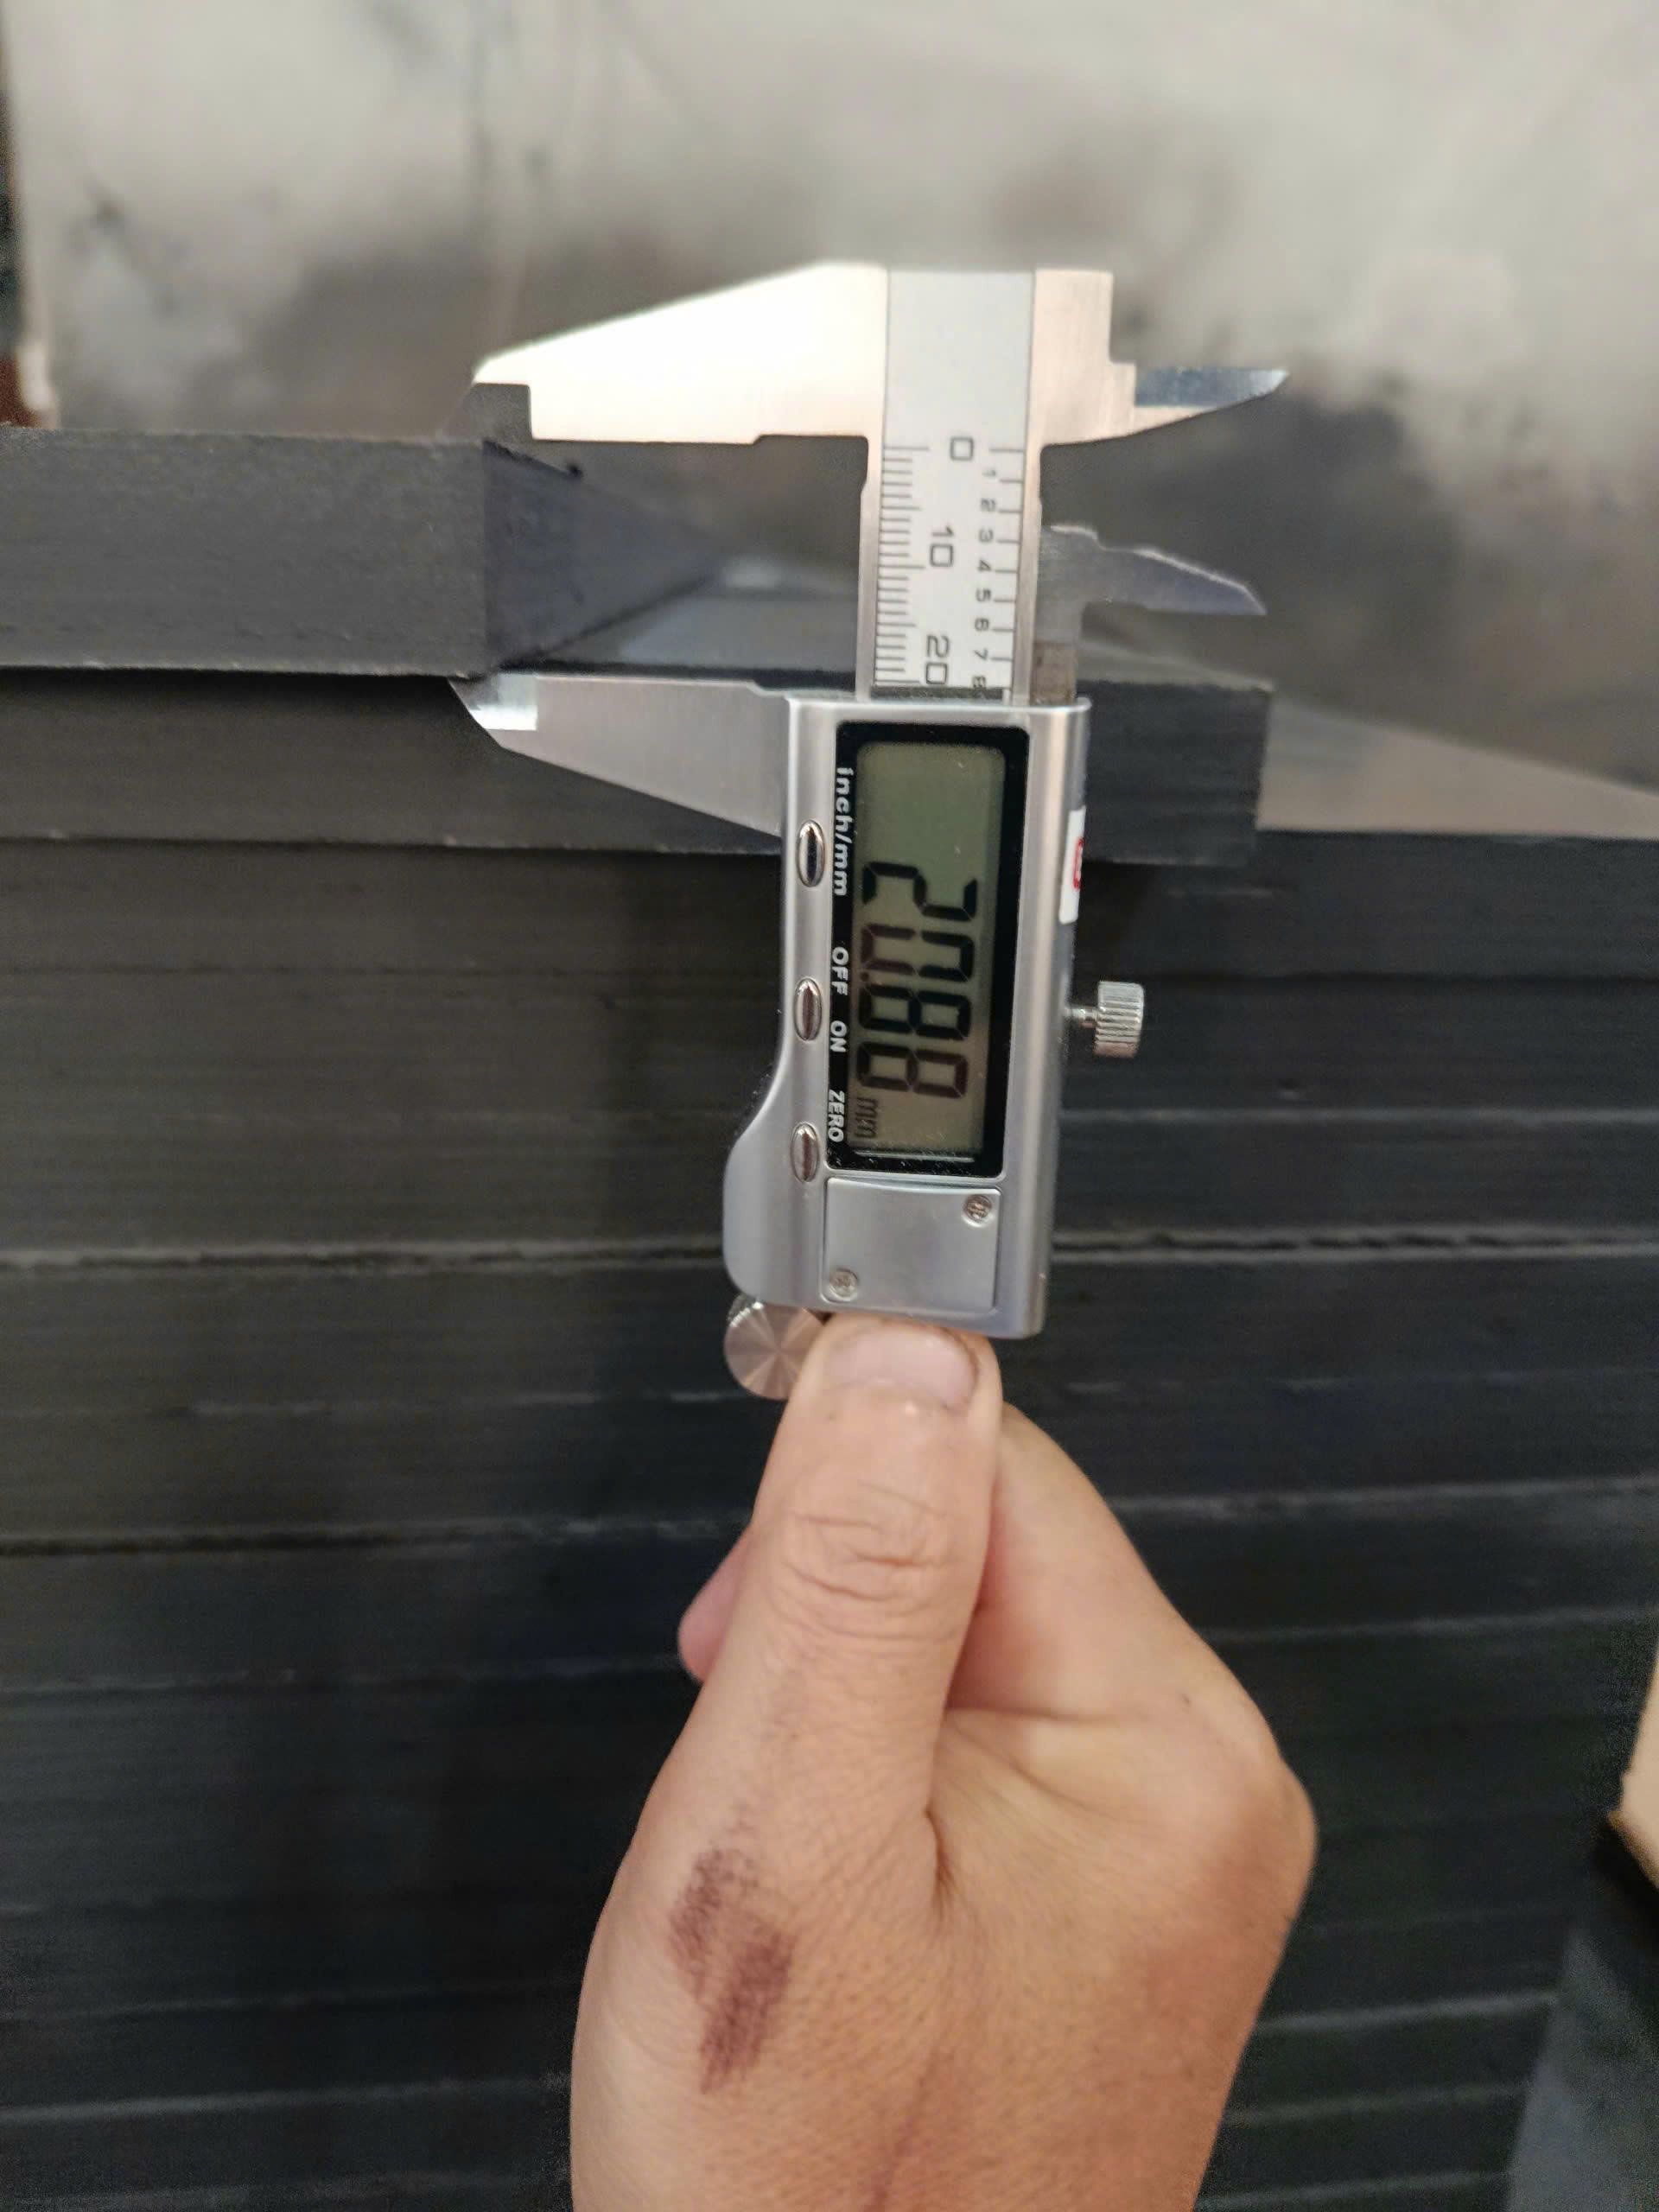
Thickness
Measure at multiple positions away from obvious local damage. Compare the range within a sheet and across the sample. Thickness variation can cause stepped joints, uneven concrete lines and incorrect system fit. The acceptance range must be the one stated in the order or applicable product standard. Use the standard plywood sizes guide for dimensional terminology, then apply the order-specific tolerances.
Squareness
Compare diagonals or use the specified method. Out-of-square panels accumulate layout error across a deck or wall and increase cutting waste.
Flatness
Inspect bow, cup and twist on a suitable reference. Two sheets placed face-to-face can reveal gross rocking, but formal acceptance should use the defined method. Consider whether packaging or moisture exposure during shipment affected the result.
Moisture and weight
Moisture outside the approved range can contribute to movement, bond issues and condensation inside bundles. Panel weight can be a useful consistency indicator when size and moisture are controlled, but it does not prove species or structural performance by itself.
Inspect the Film Surface
View both faces in direct and angled light. Clean dust before deciding whether a mark is a defect. Record location, size, frequency and whether it affects moisture protection, concrete finish or only appearance.
| Film defect | Why it matters | Inspection question |
|---|---|---|
| Bubble or blister | May indicate local loss of adhesion or trapped moisture | Does it lift, grow or break under permitted checking? |
| Film lifting at edge | Creates a water path and can worsen during stripping | Is the substrate sound and is rework permitted? |
| Pinholes | Interrupt the protective surface | How many, what size and what does the specification allow? |
| Burn-through or resin defect | Can affect release, wear and finish | Is it superficial discoloration or a loss of film integrity? |
| Scratch or puncture | May expose paper or wood and mark concrete | What depth and area are affected? |
| Wrinkle or overlap | Transfers texture to concrete and may lift | Does it exceed appearance and adhesion criteria? |
| Gloss or color variation | May signal process variation and create finish differences | Is the variation within the approved sample? |
| Contamination | Can affect release, coating or concrete appearance | Can it be removed without damaging the film? |
Black and brown film should be inspected using the same technical criteria. Color alone is not evidence of resin content, durability or reuse potential.
Inspect Edges and Core Construction
Edge sealing
Check all four edges for continuous coverage, missed areas, cracks and damage. The coating should meet the film at the corners. It should not conceal open glue lines or unstable filler.
Visible cross section
Use clean edges and approved cut samples to inspect ply arrangement. Look for large gaps, overlaps, folded veneers, missing material, open glue lines and crushed zones. Record defect dimensions and position rather than relying on a general visual impression.
Random cut inspection
Hidden defects may not appear at the factory-trimmed perimeter. When the quality plan allows destructive sampling, cut representative panels into defined sections. Label every piece and photograph the cross sections. This is particularly useful when a buyer’s risk is core consistency.
Tap or flex checks
Experienced inspectors may use sound or handling checks to identify suspicious areas, but these are screening methods, not substitutes for defined testing. Investigate anomalies with an approved destructive or laboratory method.
The existing guide to plywood core gaps and overlaps provides additional examples for cross-section inspection.

Bond, Mechanical and Moisture Evidence
Physical appearance does not prove bond or structural properties. Review the documents required by the order and confirm that samples match the supplied product.
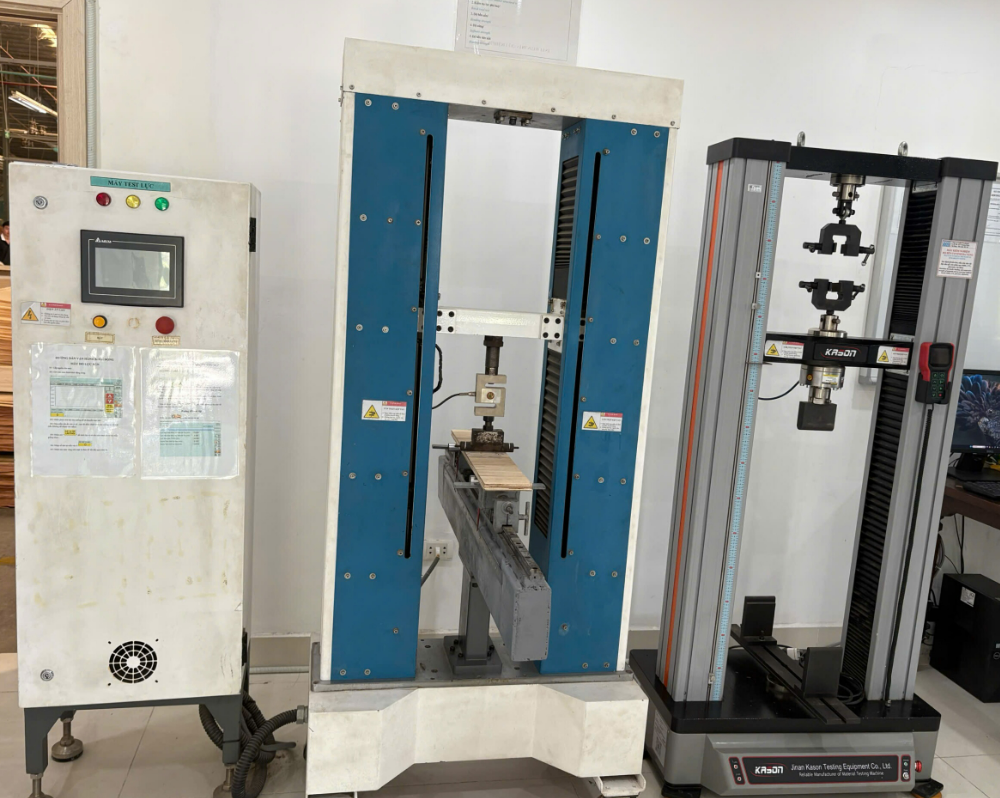
Bond testing
Check the named standard, conditioning method, sample construction, pass criteria, laboratory, date and result. A report for one thickness or adhesive should not be applied automatically to every product. “WBP glue” is not a complete report. The phenolic versus melamine glue guide helps buyers identify which bond details should be disclosed.
Mechanical testing
Where the panel is structural or a stress grade is declared, confirm the applicable bending, stiffness or other mechanical data. The formwork designer should decide which values are required. Inspection personnel should not create an allowable span from nominal thickness.
Film and overlay evidence
Verify film type and stated grammage through purchase records, supplier data or approved tests. If concrete finish or high reuse is critical, an approved trial pour can supplement laboratory and factory evidence.
Certificates and declarations
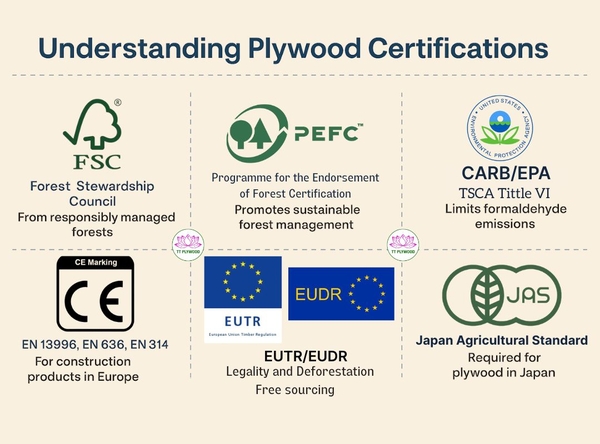
Check issuer, certificate number, validity, factory, product scope, thickness, grade and referenced standard. Confirm whether certification is current and whether it requires a particular product mark. A general ISO management certificate does not prove panel performance. Review the existing CE certificate guide and Vietnam plywood factory CE certificate example without assuming that CE evidence covers every product.
Packing, Labels and Batch Traceability
- Count sheets and bundles against the packing list.
- Check pallet stability, wrapping, straps, corner protection and face protection.
- Confirm labels show the agreed product, dimensions, quantity and batch information.
- Verify that straps do not crush edges or mark faces.
- Inspect for water, condensation, mold, dirt and transport movement.
- Match container, seal and shipping documents.
- Ensure test and inspection reports cite the same lot or traceable production period.
Photograph the empty container, loading sequence and completed load when required. At destination, photograph the seal and door area before unloading. These records help distinguish manufacturing, packing and transport damage. The guide on evaluating a Vietnam plywood factory adds supplier-audit context.
Classify Defects and Decide the Disposition
The quality agreement should define critical, major and minor defects in relation to the intended use.
- Critical: a condition that creates an unacceptable safety, compliance or structural risk.
- Major: a defect likely to make the panel unsuitable for its intended use, finish or commercial requirement.
- Minor: a departure that does not materially reduce intended performance but exceeds the agreed appearance or workmanship level.
Possible dispositions include:
- Accept: lot meets the agreed criteria.
- Accept with documented concession: buyer and responsible technical party approve a limited deviation.
- Rework and reinspect: only for defects with an approved repair method.
- Downgrade: reclassify the panel for a less demanding, approved application with adjusted commercial terms.
- Hold: isolate material while evidence or tests are reviewed.
- Reject: lot or affected units fail the contractual acceptance criteria.
Never agree to untraceable sorting after the goods enter site circulation. Mark and isolate affected bundles, preserve samples and issue a non-conformance report.
Copyable Film Faced Plywood Inspection Checklist
- ☐ Purchase specification and approved sample available
- ☐ Manufacturer, factory and batch match documents
- ☐ Quantity and panel size confirmed
- ☐ Length, width, diagonals and multi-point thickness recorded
- ☐ Flatness and moisture checked by the agreed method
- ☐ Both film faces inspected under angled light
- ☐ Bubbles, pinholes, lifting, scratches and burn marks classified
- ☐ Edge-seal coverage inspected on all sides
- ☐ Core gaps, overlaps and glue lines checked
- ☐ Destructive samples completed where required
- ☐ Bond and mechanical reports match product and batch scope
- ☐ Certificates, marks and traceability verified
- ☐ Packing, labels and container condition recorded
- ☐ Defects summarized by severity and frequency
- ☐ Disposition authorized and non-conformities closed
For broader plywood defect explanations, see Common Plywood Defects and How to Avoid Them.
Frequently Asked Questions
How can I check film faced plywood quality without a laboratory?
You can inspect dimensions, flatness, moisture, film, edges, packing and visible core. Bond and structural claims still require appropriate tests and valid documents.
Is a heavy panel always better?
No. Weight changes with species, moisture, thickness and construction. Use it as a consistency indicator only when those variables are controlled.
Can edge paint hide core gaps?
Yes. Inspect clean cut sections or approved destructive samples when core consistency is important. Edge coating should protect sound construction, not conceal defects.
Should every sheet be inspected?
Critical visual conditions may receive broad screening, while detailed measurements and destructive tests use an agreed sampling plan. Define the plan before production.
What should I do if goods fail at destination?
Quarantine the affected material, preserve packaging and panel evidence, connect defects to batch IDs, notify the supplier and follow the contractual non-conformance process.
Request an Evidence-Based Product Specification
Kosmex can provide available technical data, test documents and quality information for a proposed film faced plywood order. Include your acceptance limits and inspection plan in the RFQ so both parties evaluate the same product.






Bình luận