


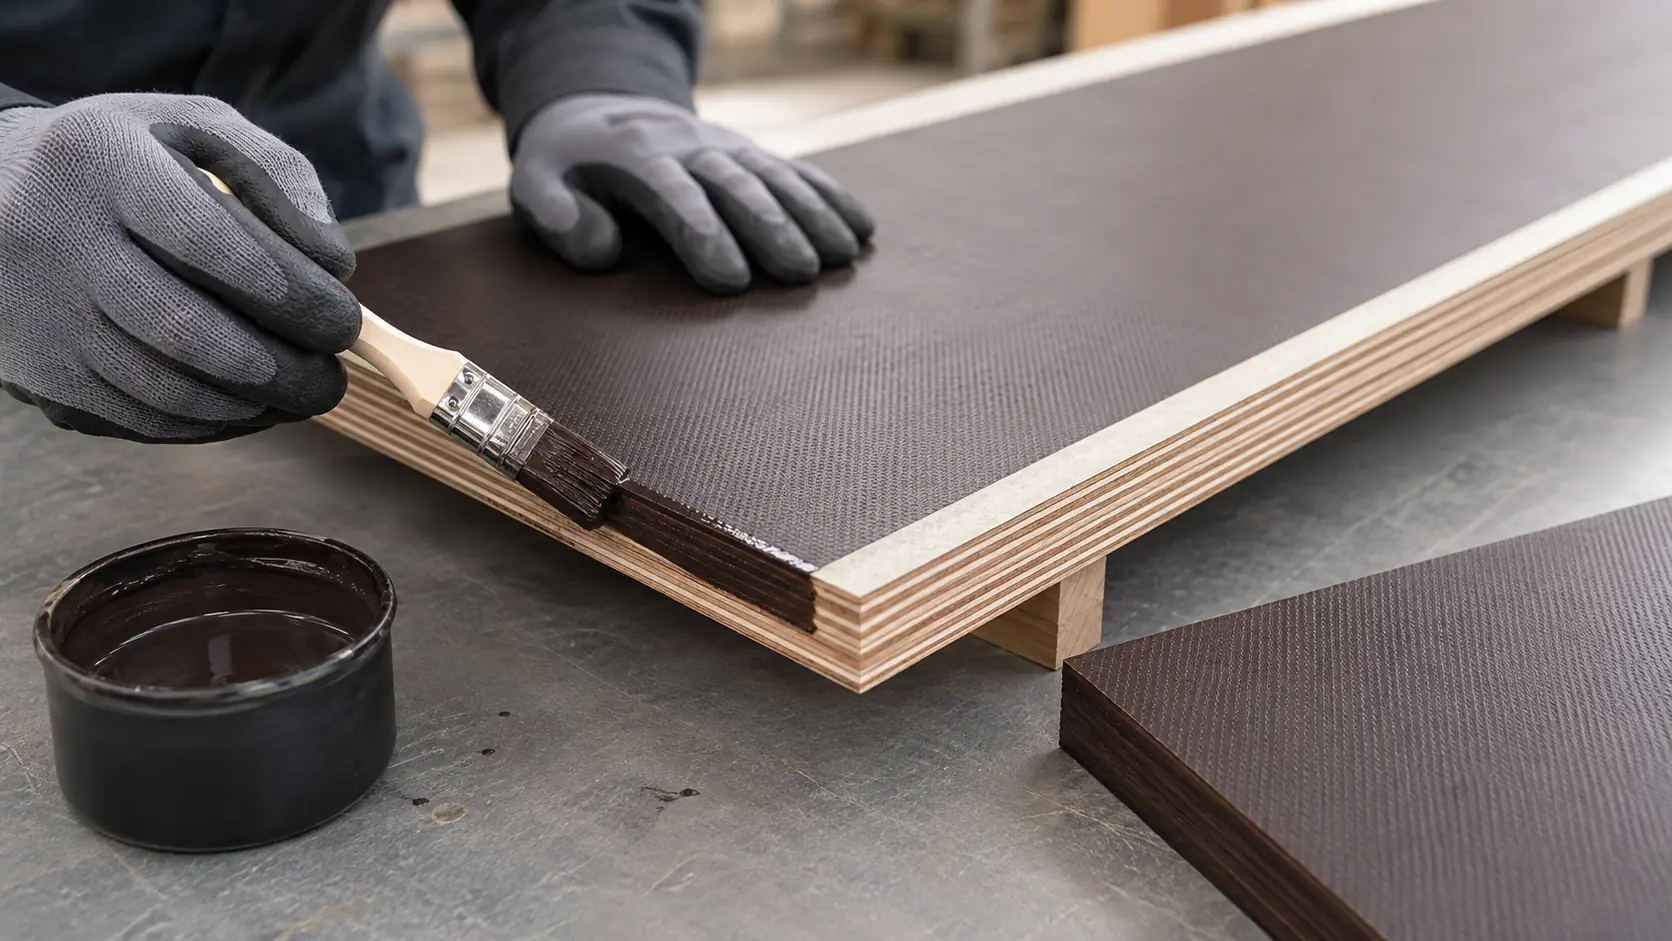
The correct response is to reseal sound, dry, prepared material with a compatible product before exposure. Edge paint is preventive protection, not a way to hide damaged or defective plywood.
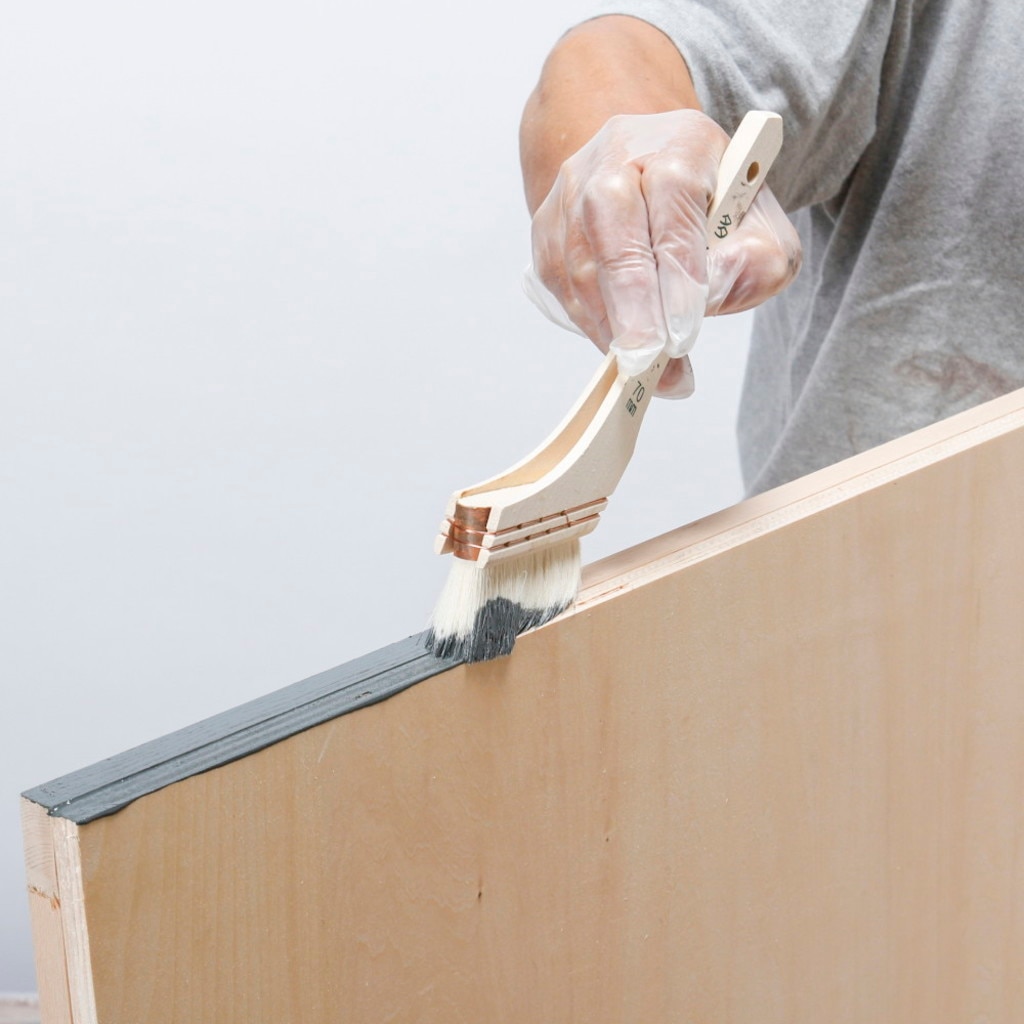
Why Film Faced Plywood Edges Need Sealing
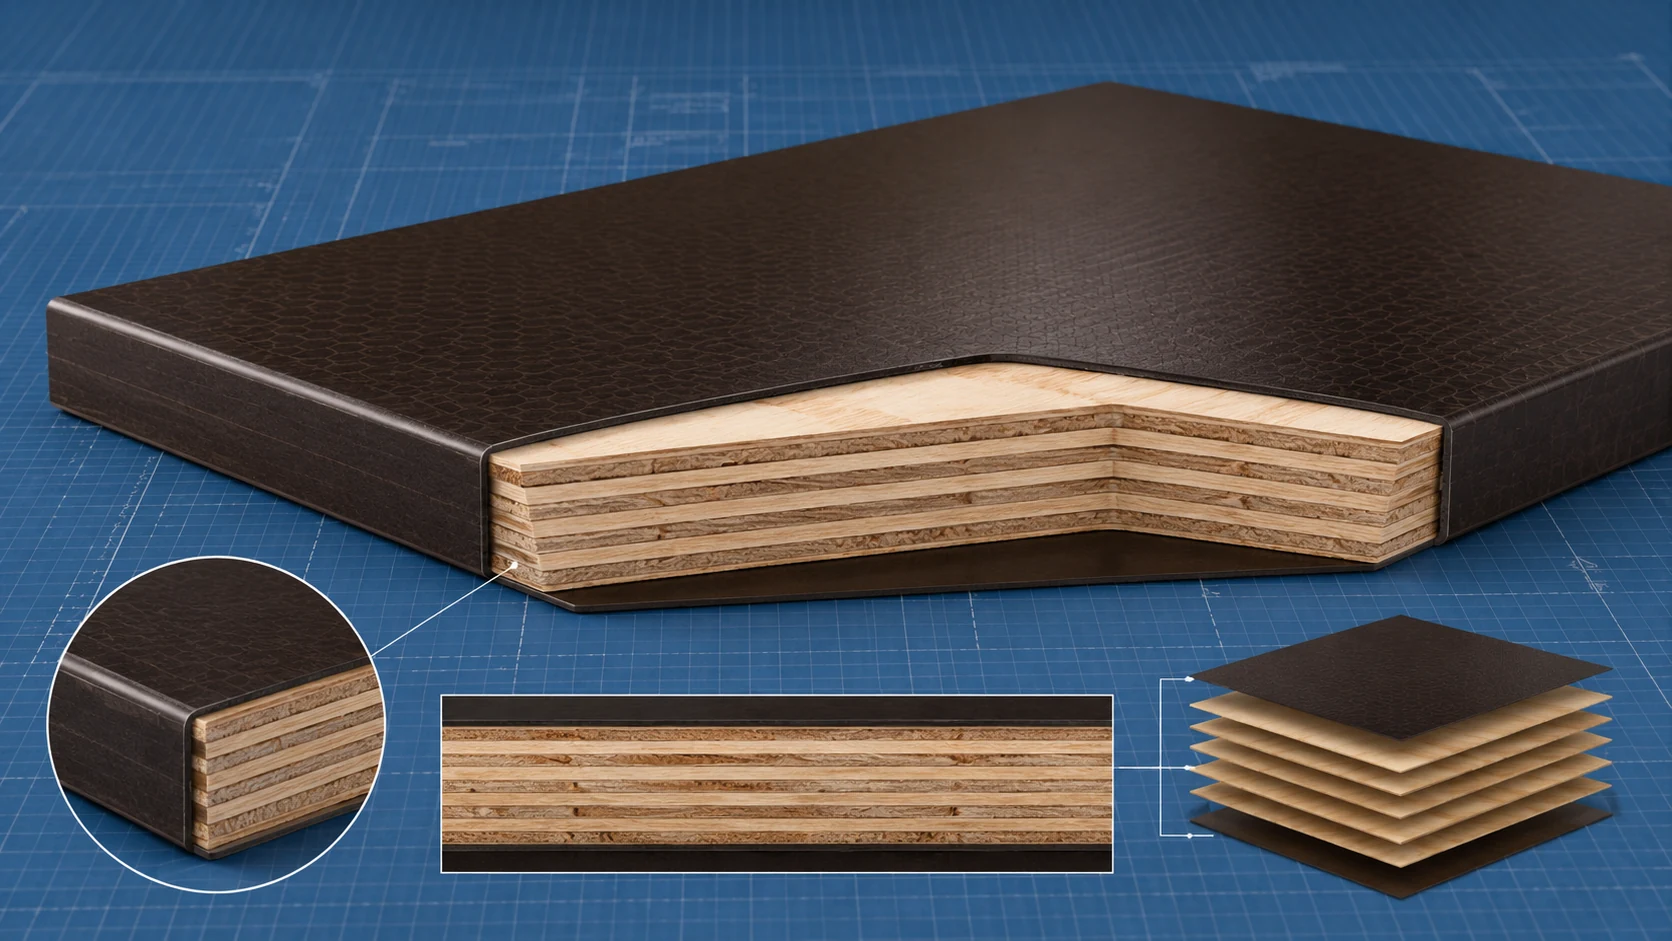
An intact filmed face has low water absorption compared with exposed wood. The edge is different. It reveals alternating veneer layers and glue lines, including wood end grain that can draw in moisture. Factory coating slows this process and protects the most vulnerable perimeter of the sheet.
A field cut removes the coating. A drilled tie hole opens a path through the panel. A crushed corner can crack both film and edge paint. When these locations repeatedly get wet and dry, wood fibers can move and stress the surrounding bond. The results may include:
- swollen edges that create visible concrete lines;
- film lifting near the perimeter;
- open glue lines or progressive delamination;
- reduced fastener holding near damaged areas;
- warping or loss of panel fit;
- shorter reuse life and higher cost per pour.
Sealing cannot make every panel suitable for immersion, and it does not replace a moisture-durable bond. It is one part of the water-protection system. For broader material selection, see the guide to the best plywood for outdoor use; for the overlay itself, review how phenolic plywood works.
Inspect the Edge Before Applying Sealer
Do not immediately paint every damaged-looking edge. First decide whether the plywood remains sound.
Suitable candidates for preventive sealing
- a clean, fresh saw cut through a sound core;
- a drilled hole made for an approved formwork detail;
- minor loss of factory edge paint without swelling or delamination;
- a small repair area permitted by the panel and formwork procedure.
Conditions that need assessment before sealing
- edge already wet, darkened or swollen;
- visible gap, overlap, loose veneer or open glue line;
- film lifting away from the substrate;
- crushed corner or split extending into the panel;
- mold, decay or persistent contamination;
- soft area or unexpected flexibility near the edge;
- previous repair with unknown or incompatible material.
Mark and quarantine a panel when damage may affect structural performance or the required concrete finish. The responsible formwork professional should decide whether it can be repaired, downgraded or retired. Use the examples in the guide to common plywood defects to distinguish minor coating loss from core or bond failure.
Choose a Compatible Edge Sealer
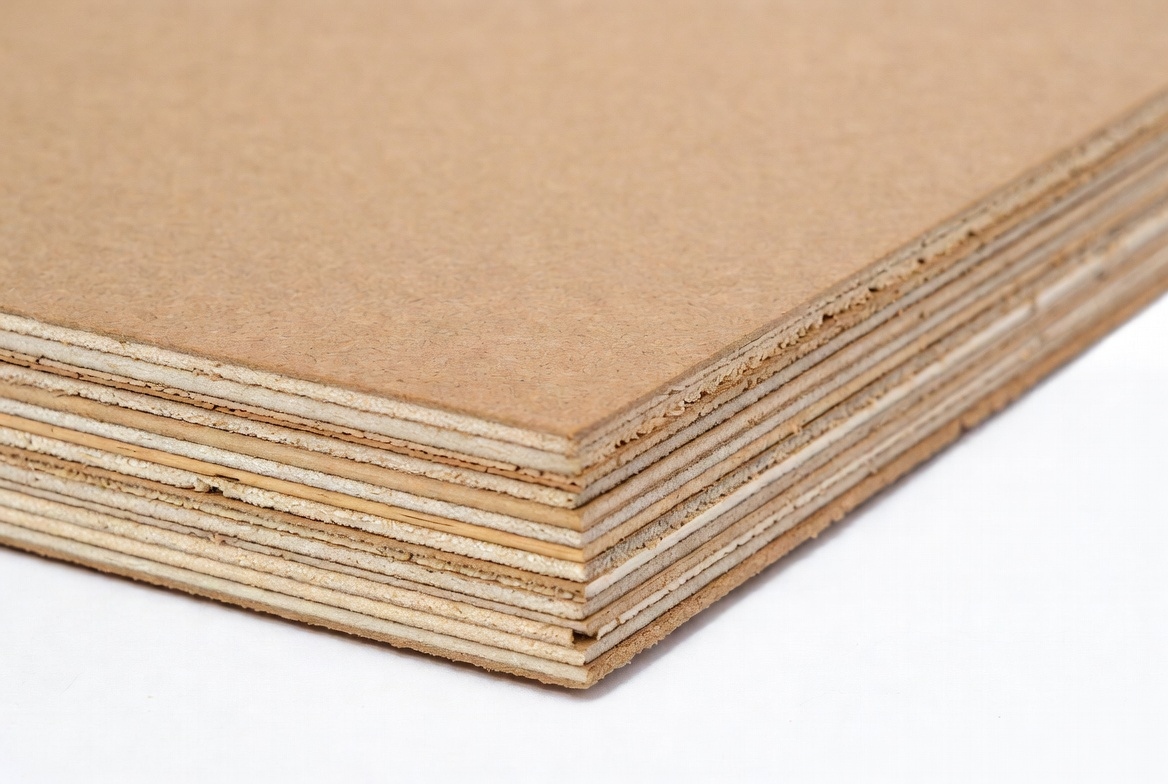
Purpose-made plywood edge coatings are available in water-based acrylic or acrylate systems, phenolic-compatible paints and other formulations. Epoxy systems may be used for certain products and exposures. These categories are not automatically interchangeable.
Ask the panel or coating supplier to confirm:
- compatibility with phenolic film faced plywood and exposed core veneer;
- intended indoor, outdoor and moisture exposure;
- surface preparation and maximum permitted wood moisture;
- mixing, pot life and application temperature where relevant;
- number of coats, coverage and recoat interval;
- drying and full-curing time before water or concrete exposure;
- compatibility with release agents and repair materials;
- worker ventilation, personal protective equipment and disposal requirements;
- available color and visibility for inspection.
A dark color can help match the original edge, but appearance is secondary to adhesion, coverage and moisture performance. Do not use ordinary decorative paint simply because it looks similar. Confirm the panel construction in the film faced plywood guide and, where bond durability is in question, compare phenolic and melamine glue systems.

Step-by-Step Film Faced Plywood Edge Sealing
Step 1: Plan cuts before the panel gets wet
Complete as much cutting and drilling as practical in a controlled, dry area. Organize the work so fresh edges can be prepared, coated and cured before installation. Last-minute cutting immediately before a pour often leaves insufficient cure time.
Step 2: Make a clean cut
Use a sharp blade suitable for plywood and support the panel on both sides of the cut. Follow tool-safety requirements and control dust. A ragged cut exposes loose fibers and can lift the film at the edge, making effective coating harder. The same fundamentals are covered in how to cut plywood without splintering.
Step 3: Inspect the cross section
Check veneer alignment, gaps, overlaps and glue lines. The cut should be solid enough for the intended use. Photograph and isolate significant internal defects. Do not fill a large void and assume the panel’s original structural properties are restored. The guide to core gaps and core overlaps explains why these conditions need separate evaluation.
Step 4: Remove loose material
Lightly prepare the edge using the method allowed by the sealer manufacturer. Remove splinters, dust, oil and concrete residue without rounding dimensions excessively or damaging the face film. Vacuum or wipe with the approved method. Avoid contaminating the edge with solvents not listed in the coating instructions.
Step 5: Ensure the edge is dry
Coating wet wood can trap moisture and reduce adhesion. Follow the sealer’s moisture limit and drying requirements. Natural-looking surface dryness is not always enough after a panel has been soaked.

Step 6: Protect adjacent faces
If the concrete finish is sensitive, mask or control the application so sealer does not run across the film face. Any masking tape must also be compatible and removed at the correct time.
Step 7: Apply the first coat
Brush, roll or apply the sealer using the approved tool. Work material into the exposed veneer end grain while maintaining the specified coverage. Pay attention to corners, small gaps within permitted limits and the junction between film and edge.
Step 8: Recoat as specified
Some systems require more than one coat or repeated saturation. Respect the minimum and maximum recoat window. More material is not always better; thick, uncured coating can remain soft, transfer to other sheets or fail during handling.
Step 9: Cure before stacking or exposure
Place the panel so air reaches the coated edge and surfaces do not stick together. Protect it from rain, dust and impact during cure. Do not install or pour concrete until the approved interval has passed for the actual temperature and humidity.
Step 10: Inspect and record
Check continuity, adhesion and cured condition. Mark the panel or record the repair in the reuse log. A later inspector should be able to distinguish a fresh field-sealed edge from an unsealed cut.
How to Seal Drilled Holes, Corners and Surface Damage
Tie holes and drilled penetrations
A hole exposes veneer through the full panel thickness. Remove drilling debris, inspect for breakout and apply the approved hole-sealing or sleeve detail. Small brushes or purpose-made applicators may help achieve coverage, but the system must not change the designed hole size or interfere with hardware.
Cut-outs and notches
Treat every internal edge, including corners that are easy to miss. Internal corners may collect coating and need extra cure time. Confirm that the cut-out is framed and structurally accepted in the formwork design.
Chipped corners
If damage is superficial and repair is approved, remove loose material, rebuild only with a compatible system and restore the protective coating. A crushed core or split corner near a fastener is not simply a paint repair.
Scratches through the film
Clean the area and determine whether the scratch reaches wood. Local surface repairs can affect the concrete finish and may require the panel to be downgraded. Use only a method approved for the film. Do not coat the whole face with edge paint.
Edge-Sealing Quality Check
| Check | Acceptable condition |
|---|---|
| Surface preparation | Sound, clean and dry within product requirements |
| Coverage | Continuous over exposed veneer, including corners and permitted holes |
| Film junction | No unprotected line between face film and edge coating |
| Coating condition | Cured, adherent and free from major runs, missed areas or sticky zones |
| Dimensions | No excessive build-up that interferes with panel fit or hardware |
| Face cleanliness | No uncontrolled sealer on the concrete contact area |
| Panel condition | No unresolved swelling, delamination, split or core defect |
| Record | Product, date and repair status documented where required |
Reinspect sealed areas after stripping and cleaning. Impact, abrasion and water exposure can damage the repair even when it was correctly applied.
Common Edge-Sealing Mistakes
- Leaving fresh cuts unsealed. The face remains protected while the new edge absorbs water.
- Painting wet or dirty wood. Moisture, oil and dust reduce adhesion.
- Using an unknown coating. Decorative paint may not resist the exposure or bond to the substrate.
- Skipping holes. Small penetrations can carry water deep into the panel.
- Rushing cure time. Uncured coating can wash off, stick to stacks or contaminate concrete.
- Applying excessive material. Thick runs can remain soft and interfere with joints.
- Covering defects. Edge paint cannot restore an open glue line, swollen core or structural damage.
- Ignoring later damage. A factory-sealed or repaired edge still needs inspection after each use.
When Edge Sealing Is Too Late
Stop and assess the panel if moisture or damage has already changed its construction. Warning signs include:
- veneers separating from one another;
- edge thickness noticeably greater than the sound panel;
- soft, crushed or decayed core;
- film lifting back from the edge;
- persistent dampness or mold;
- warp that prevents proper support and joint alignment;
- split extending into a loaded or fastened region.
Quarantine the sheet and follow the project’s disposition procedure. It may be downgraded to a non-critical use if approved, but a fresh coat of paint must not be used as evidence that it is fully restored.
Integrate Edge Sealing into the Formwork Workflow
- Specify the factory and field edge system in the purchase order.
- Supply the approved coating and safety documents before work begins.
- Set up a dry cutting and repair area.
- Train crews to mark every new cut and hole.
- Allow cure time in the installation schedule.
- Inspect sealed edges before the pour.
- Clean and inspect again after stripping.
- Record repairs and panel classification for reuse.
This routine helps turn edge protection from a last-minute touch-up into a controlled part of panel life management. Combine it with the handling, inspection and reuse controls described in the formwork plywood guide.
Frequently Asked Questions
Do factory-sealed edges need more paint?
Sound factory edges normally remain as supplied until damaged. Inspect them before use and touch up only with the approved system where coverage is lost.
Can I use ordinary exterior paint?
Do not assume it is suitable. Use a coating whose manufacturer confirms adhesion and durability for the panel and exposure.
How many coats are needed?
Follow the actual sealer’s technical data sheet. The required coverage, number of coats and recoat interval vary by chemistry and substrate.
Should screw and tie holes be sealed?
They expose the core and should receive the approved protection or sleeve detail where the formwork procedure requires it.
Can edge sealer fix delamination?
No. It can protect sound exposed veneer. Delamination requires technical assessment and may mean the sheet must be removed from service.
Confirm the Approved Edge-Sealing System
When ordering Kosmex film faced plywood, ask which factory edge coating is used and request a compatible field-repair recommendation for your destination and application.





Bình luận