


How to Paint Plywood: Prep, Primer and Best Paint for a Smooth Finish
Painting plywood looks simple: brush on primer, apply topcoat, done. In practice, two problems appear fast: grain telegraphing (the veneer grain shows through the paint) and raised grain (the surface feels rough after the first coat). Both are avoidable with the right prep sequence.
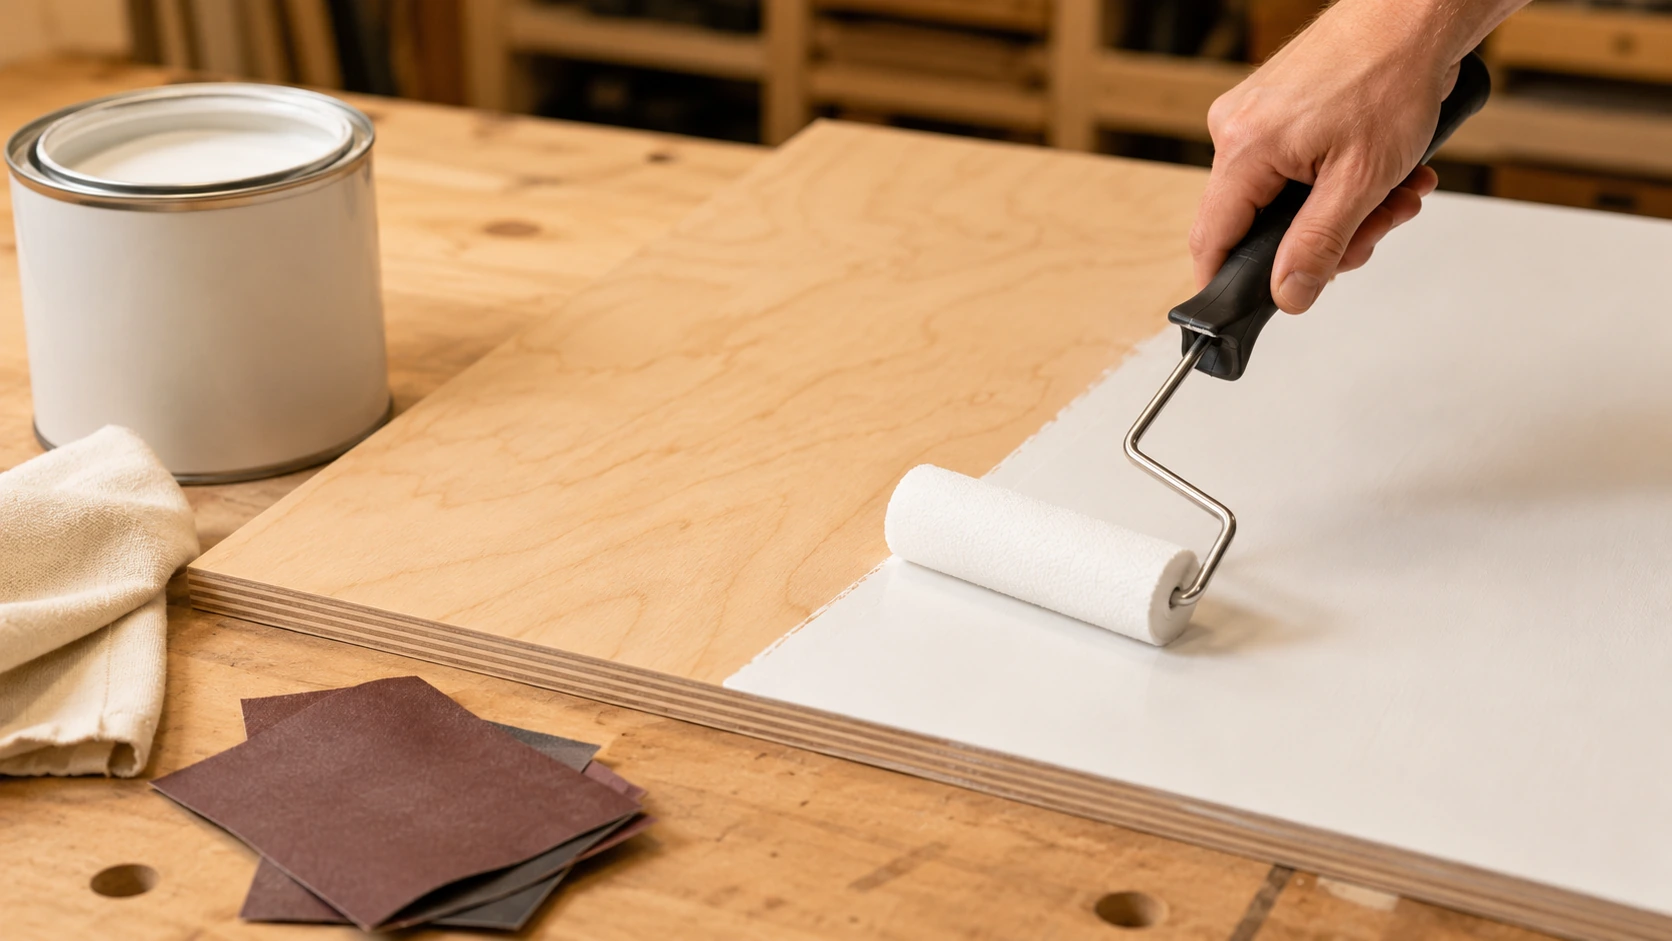
This guide covers the complete painting process for birch plywood, including species-specific considerations, primer selection, sanding sequence, and edge treatment.

Why Plywood Painting Fails: The Two Common Problems
1. Grain Telegraphing
Grain telegraphing is when the veneer grain pattern shows through the finished paint coat, producing a textured surface where a smooth finish was intended. It occurs because:
- The veneer grain has slight surface relief. The earlywood and latewood in the veneer ring structure sit at slightly different heights.
- Water-based primers raise the grain further on first application
- Insufficient sanding between coats locks the grain texture in place
Fix: correct species selection, proper sanding sequence, and the right primer type. Birch plywood B/BB grade telegraphs significantly less than pine or oak. The tight, closed birch grain is one of the reasons birch is the professional default for painted furniture.
2. Raised Grain
Raised grain occurs when the first coat of water-based paint or primer soaks into the veneer, causing the wood fibres to swell and stand up. The surface feels rough after the first coat, coarser than the raw wood before painting.
Fix: light sanding (180 grit) after the first primer coat, before applying subsequent coats. This is standard practice and is not optional for a smooth result.
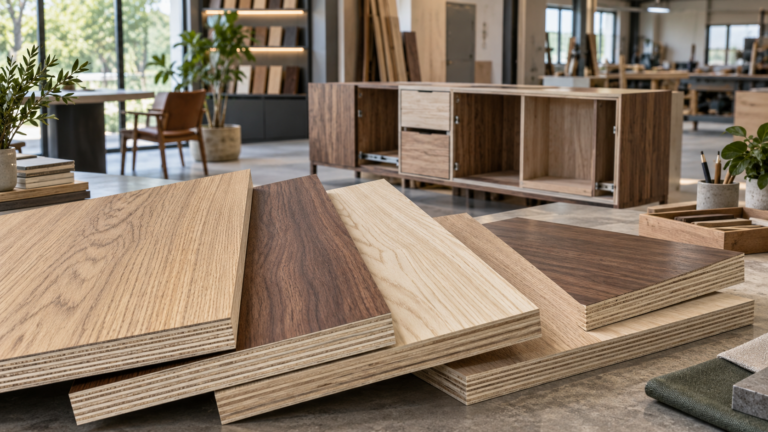
Choosing the Right Plywood for Painting
The painting process starts with panel selection. Not all plywood faces paint equally.
| Species / grade | Paintability | Notes |
|---|---|---|
| Birch B/BB | Excellent | Fine grain, minimal telegraphing, standard painted furniture spec |
| Birch BB/BB | Very good | Both faces paintable, slight more patching than B/BB |
| Pine CDX / structural | Poor | Open grain, knots, resin bleed; requires shellac primer and multiple coats |
| Oak-faced | Poor to moderate | Open pores require grain filler; tannins react with water-based primer |
| MDF | Excellent | Zero grain, smoothest painted surface but no moisture resistance |
| Poplar core (combi) | Good | Interior face quality; poplar core takes paint well if face veneer is intact |
Specification for painted furniture and cabinets: Birch-faced plywood, B/BB grade, is the professional standard. It provides near-MDF surface quality with the structural advantages of plywood: screw-holding, moisture resistance, and lighter weight than MDF at equivalent thickness.
For the full comparison: Birch Plywood vs MDF: Strength, Moisture and Cost.
Tools and Materials
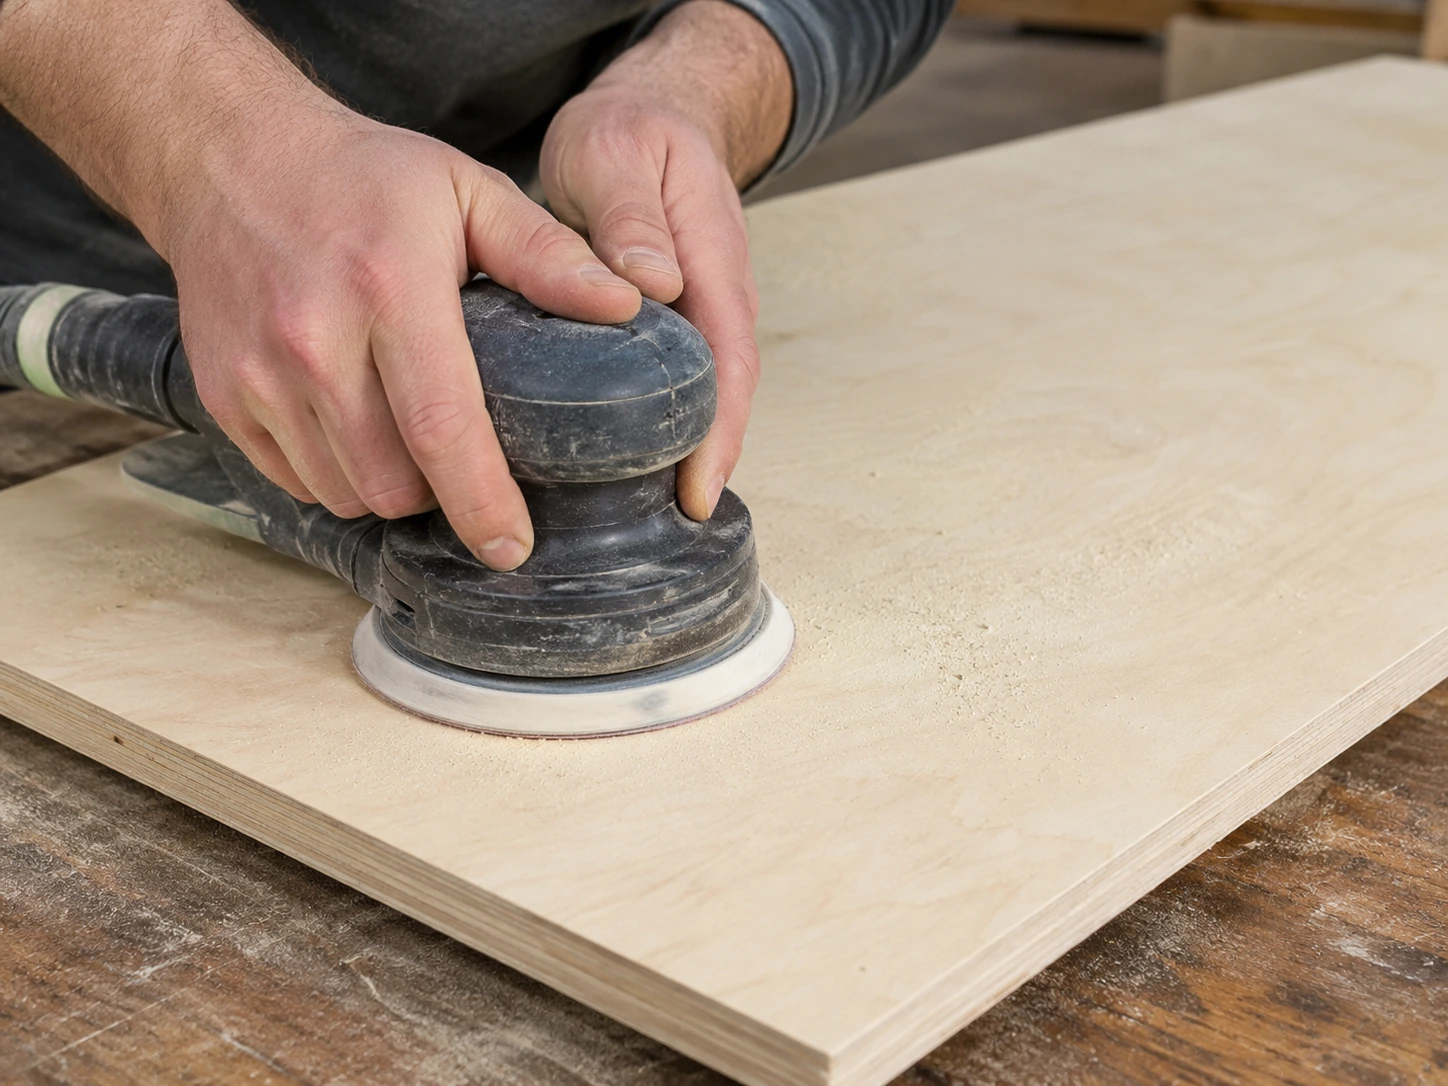
- 120 grit sandpaper (initial surface prep)
- 180 grit sandpaper (between coats)
- 220 grit sandpaper (final coat prep)
- Sanding block or random orbital sander
- Tack cloth or damp microfibre cloth
- Wood filler / spackle (for patch repairs)
- Shellac-based primer (for pine, oak, or mixed-species panels)
- Water-based or oil-based primer (for birch B/BB)
- Topcoat paint: latex enamel, water-based alkyd, or oil-based enamel
- Brush (2.5″ angled for detail) plus small roller (4″ foam roller for flat surfaces)
Step-by-Step: How to Paint Birch Plywood
Step 1: Surface Preparation, Sand to 120 Grit
Sand the face veneer with 120 grit sandpaper, moving in the direction of the grain. Remove any mill marks, light surface contamination, or uneven spots.
Do not sand through the face veneer. Birch face veneer on commercial B/BB grade plywood is typically 0.6 to 1.0mm thick. Aggressive sanding with coarse paper can sand through to the core. Use 120 grit maximum for initial prep on birch veneer.
Wipe clean with a tack cloth or damp microfibre cloth. Allow to dry fully before priming.
Step 2: Fill Imperfections
B/BB grade birch plywood may have small filled knots, minor splits, or surface repairs in the veneer. Fill any open imperfections with a fine-grain wood filler or lightweight spackle. Allow to dry, sand flush with 120 grit, wipe clean.
Step 3: Prime, First Coat
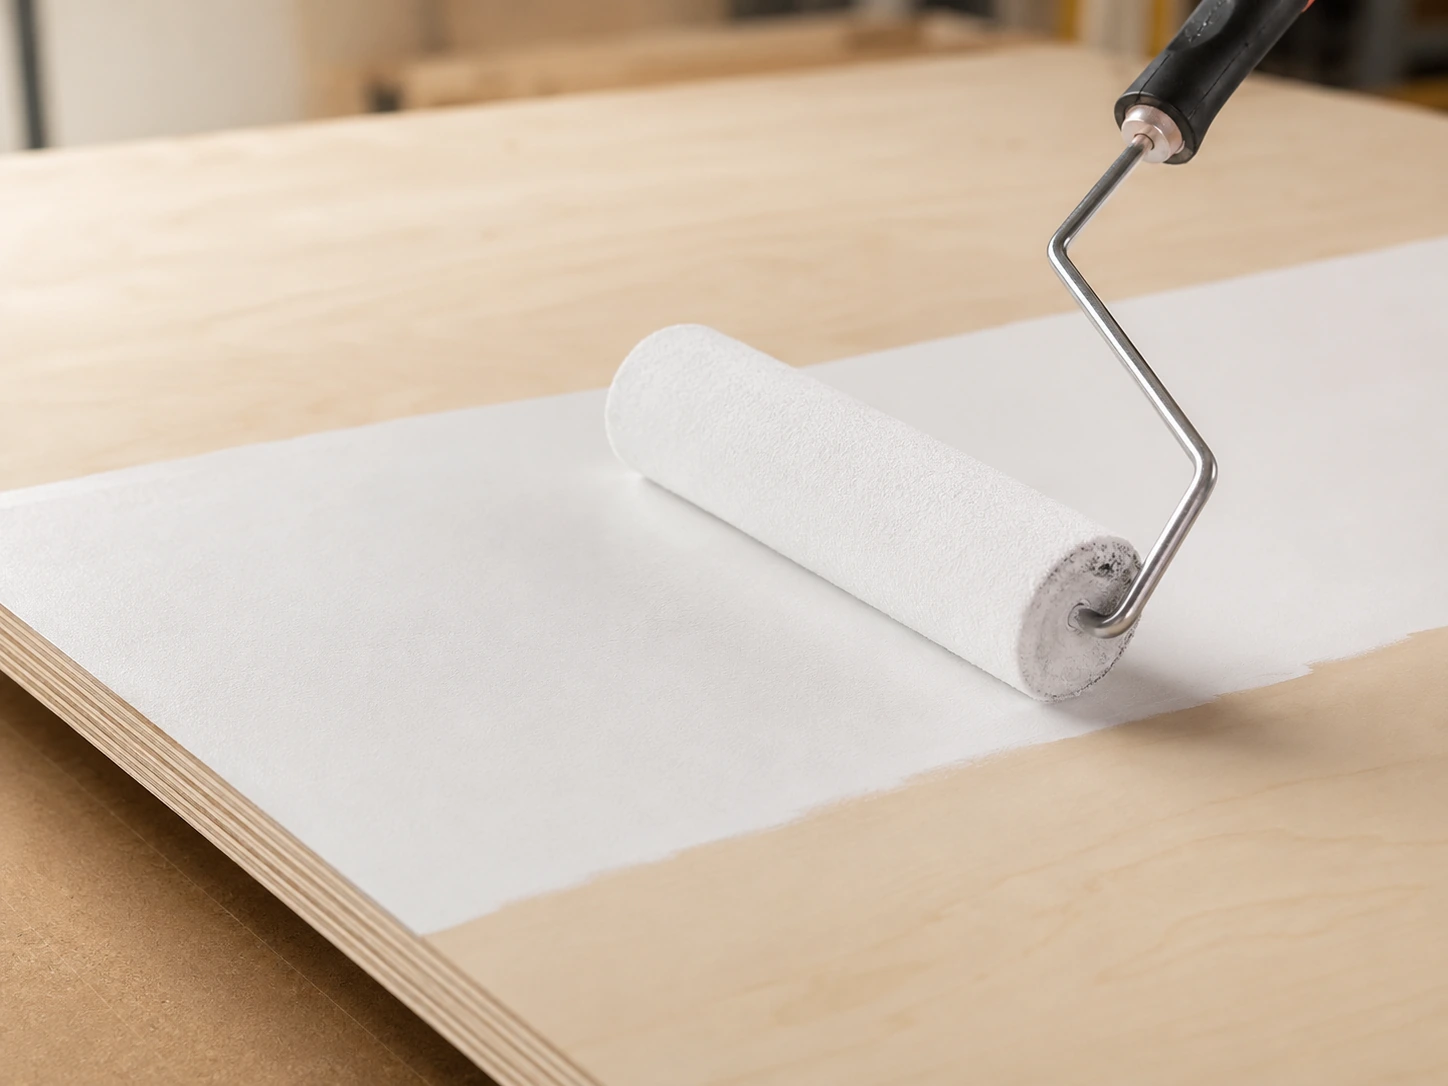
For birch B/BB: use a water-based or oil-based wood primer. Water-based primer (acrylic primer) is the standard: fast drying, low odour, easy clean-up, compatible with latex topcoats.
For pine, oak, or mixed-species panels: use a shellac-based primer (Zinsser BIN is the standard reference). Shellac seals tannins and resins that would otherwise bleed through water-based primer coats and cause yellow staining over time. After the shellac primer coat is dry, switch to water-based topcoats.
Application method:
- Use a 4″ foam roller for large flat faces, produces a finer surface texture than a brush
- Use a 2.5″ brush for edges and corners
- Apply thin coats, one thin coat is better than one thick coat
Step 4: Sand After First Primer Coat, 180 Grit
This is the step most DIYers skip. After the first primer coat dries (1 to 2 hours for water-based), the grain will have raised slightly and the surface will feel rough. Sand lightly with 180 grit, just enough to knock down the raised fibres. Do not sand through to bare wood.
Wipe with tack cloth. This sanding step transforms the surface quality of the final finish.
Step 5: Prime, Second Coat
Apply a second thin primer coat. At this point the surface should be smooth and even. Allow to dry fully.
Sand lightly with 220 grit if any texture remains. Wipe clean.
Step 6: Apply Topcoat
Paint selection for plywood:
| Paint type | Finish quality | Durability | Best for |
|---|---|---|---|
| Latex enamel (water-based) | Good | Moderate | Interior furniture, shelving |
| Water-based alkyd | Excellent | High | Kitchen cabinets, high-use surfaces |
| Oil-based enamel | Excellent | Very high | Trim, doors, high-wear surfaces |
| Chalk paint | Moderate | Low | Decorative/vintage, requires wax topcoat |
For kitchen cabinets and furniture: water-based alkyd (Benjamin Moore Advance, Sherwin-Williams Emerald Urethane) provides the hard, smooth finish of oil-based paint with faster dry time and water clean-up. This is the current professional standard for painted cabinetry.
Apply two topcoats, lightly sanding with 220 grit between coats. Allow each coat to cure fully before sanding. Water-based paints may feel dry to touch in 1 to 2 hours but take 24 hours to harden enough for sanding.
Edge Treatment: The Skipped Step
Plywood edges, especially on combi-core panels, expose the poplar or eucalyptus inner core at the cut face. This absorbs more paint than the face veneer and produces a different texture and sheen.
Options for edge treatment:
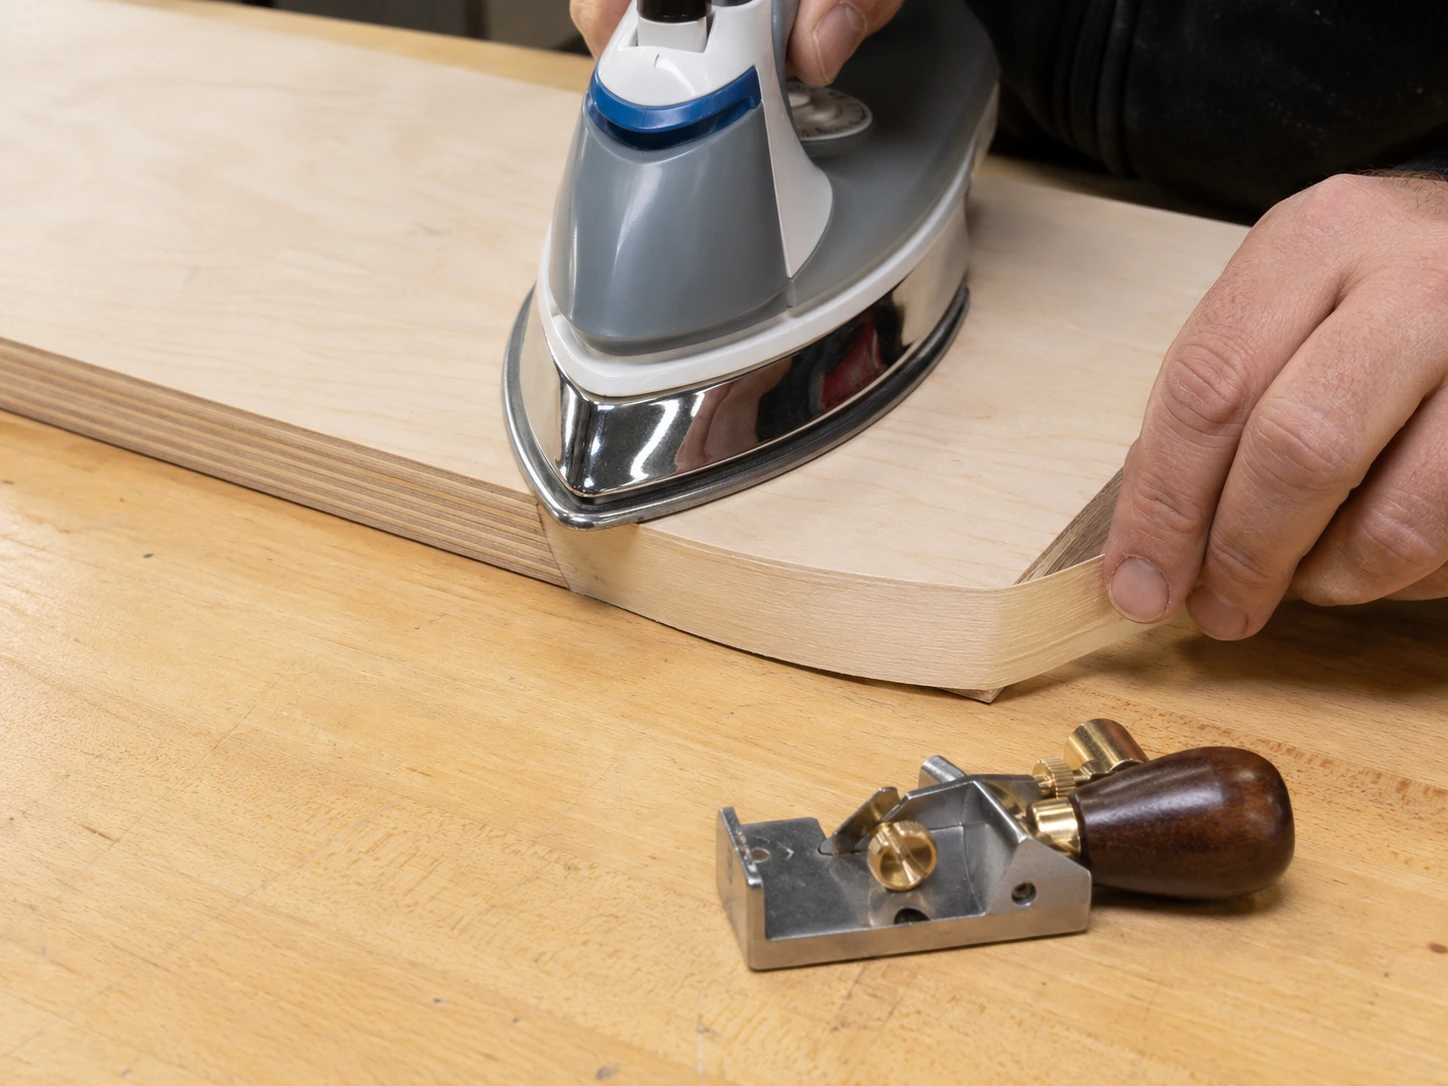
- Iron-on edge banding: pre-glued veneer tape applied with a household iron. Produces a face-matching edge. Sand flush after application. Standard for cabinet work.
- Solid wood lipping: thin strips of solid wood glued to the edge, sanded flush. The most durable edge treatment. Solid wood takes paint identically to solid wood surfaces.
- Multiple primer coats on the edge: fill the exposed core with 3 to 4 coats of primer, sanding between each coat, until the texture matches the face. Time-consuming but no additional materials needed. Adequate for painted work where the edge is not prominently visible.
- Wood filler skim: apply a thin coat of fine wood filler or lightweight spackle to the edge, sand flat, then prime. Fills the core texture in one step.
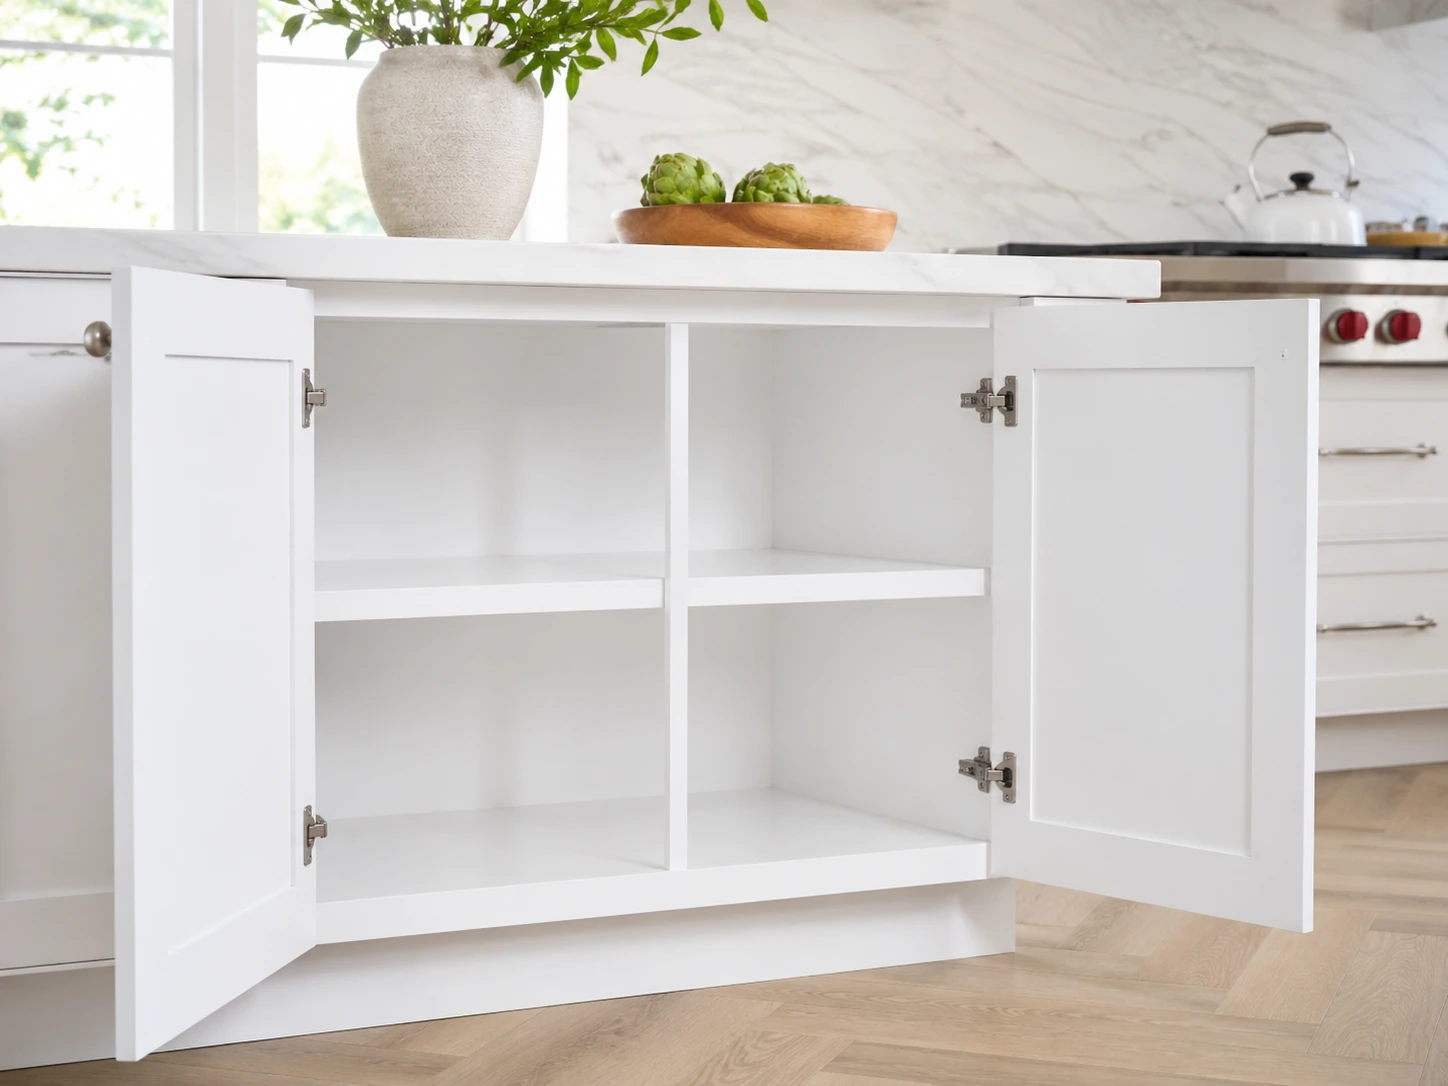
Painting Plywood Cabinets
Kitchen and bathroom cabinet boxes require the hardest, most cleanable paint surface. The complete sequence:
- Sand all surfaces to 120 grit
- Fill any gaps at joints with paintable caulk. Run a thin bead, smooth with wet finger, allow to dry.
- Prime with water-based primer, two coats, sand 180 grit between
- Apply water-based alkyd topcoat, two coats, sand 220 grit between
- Final coat, do not sand; allow to cure 7 days before hard use
Door fronts: if using solid wood or MDF door fronts on a birch cabinet box, prime and paint these separately before hanging to ensure full coverage at all edges.
Painting Plywood for Exterior Applications
For outdoor painted plywood panels (skirting, fascia, signage):
- Use WBP-glued (exterior grade) plywood. MR plywood will delaminate before the paint fails.
- Primer: exterior oil-based primer or exterior shellac. Better adhesion and sealing than interior products.
- Topcoat: 100% acrylic exterior paint, two coats minimum
- All edges must be sealed: prime all four edges and the back face; moisture enters from unprotected edges first
- Recoat cycle: exterior painted plywood typically needs recoating every 4 to 6 years depending on exposure
FAQ
What primer should I use on plywood before painting?
For birch B/BB grade: water-based acrylic primer, two coats. For pine or oak-faced plywood: shellac-based primer (Zinsser BIN) as the first coat to seal tannins and resin, then switch to water-based topcoats. Always sand between primer coats with 180 grit.
Why does grain show through paint on plywood?
Grain telegraphing is caused by insufficient primer coats and insufficient sanding between coats. Two coats of primer with 180 grit sanding between each coat is the minimum for a smooth painted finish on birch. Pine and oak require grain filler in addition to primer.
How do you get a smooth finish when painting plywood?
Use a foam roller for flat faces (finer texture than brush), apply thin coats, sand 180 grit after each primer coat, and use 220 grit lightly before final topcoat. Water-based alkyd topcoat (Benjamin Moore Advance, Sherwin-Williams Emerald) self-levels better than standard latex.
Can you paint plywood without primer?
Not recommended for furniture or cabinetry. Without primer, topcoat paint soaks unevenly into the veneer, raises the grain, and produces a rough, blotchy result. Primer seals the wood and provides a uniform base for topcoat adhesion.
What is the best paint for plywood cabinets?
Water-based alkyd enamel (Benjamin Moore Advance or Sherwin-Williams Emerald Urethane) is the professional standard for painted kitchen cabinets. It produces a hard, smooth surface comparable to oil-based paint with water clean-up and faster dry time.
How many coats of paint does plywood need?
Minimum: two coats primer (sand 180 grit between) plus two coats topcoat (sand 220 grit between). For high-use surfaces like kitchen cabinets, three coats topcoat. Total: 4 to 5 coats. Each coat thin. Thick coats drip, show brush marks, and take longer to cure.
Summary: Painting Plywood Step by Step
| Step | Grit / Material | Notes |
|---|---|---|
| 1. Initial sand | 120 grit | With grain, do not sand through veneer |
| 2. Fill imperfections | Wood filler | Sand flush when dry |
| 3. Wipe clean | Tack cloth | Remove all dust |
| 4. First primer coat | Water-based or shellac | Thin coat, foam roller |
| 5. Sand | 180 grit | Knock down raised grain |
| 6. Second primer coat | Same primer | Thin coat |
| 7. Sand | 220 grit | Smooth before topcoat |
| 8. First topcoat | Alkyd enamel | Thin coat, foam roller |
| 9. Sand | 220 grit | Light, just smooth |
| 10. Final topcoat | Same topcoat | Do not sand after |
Related Reading
- How to Finish Birch Plywood: Staining, Painting and Sealing
- Birch Plywood vs MDF: Strength, Moisture and Cost
- Birch Plywood Grades: A, B/BB, BB/BB, C2 Explained
- Best Plywood for Kitchen Cabinets: Grade, Core and Thickness
- Best Plywood for Shelving: Grade, Thickness and Span Guide
- Plywood vs Solid Wood: Strength, Stability and Cost
Bình luận