


A flatness inspection is useful only when another inspector can repeat it. This procedure gives importers a practical framework for sample selection, conditioning, support, bow, cup and twist measurements, moisture mapping and shipment release.
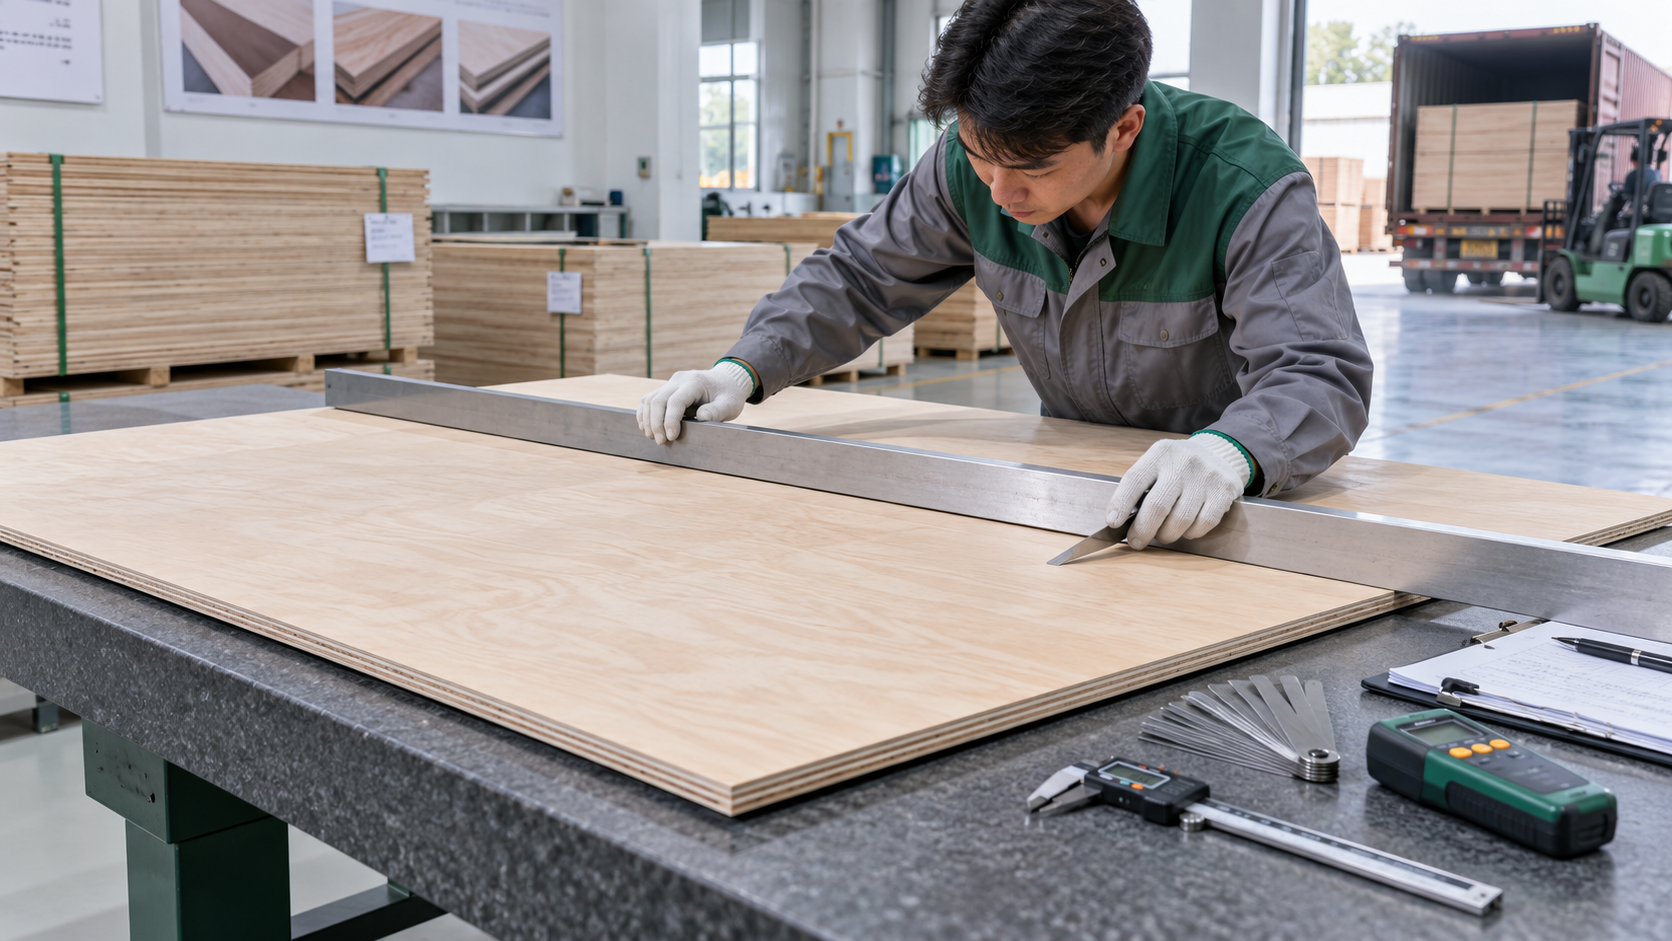
Start with an agreed inspection specification
Do not wait until the inspector arrives to decide what “flat” means. The purchase agreement should define panel thickness and size, conditioning state, measurement method, sample size, acceptance limit and reporting format. If the product will be coated, laminated or machined after delivery, state whether the inspection applies before or after that process.
Use separate terms for bow, cup and twist. Also distinguish flatness from deflection under load. A panel may meet the flatness limit while lying unstressed and still bend normally when a load is applied across a span. For selecting the right panel before inspection, see the Kosmex 6mm, 8mm and 9mm plywood buying guide.
Tools and inspection area
Prepare a clean, dry area with sufficient space to move full sheets safely. Useful equipment includes:

- a verified flat table, rigid reference frame or agreed support layout;
- a straightedge of suitable length and known condition;
- calibrated gap gauges, feeler gauges or a suitable depth measurement tool;
- caliper or micrometer suited to the panel thickness;
- tape measure, square and diagonal measurement tools;
- a moisture meter appropriate for wood products, with species or material correction where applicable;
- thermometer and relative-humidity meter;
- labels, marker, camera and inspection form;
- personal protective equipment and safe lifting aids.
Record equipment identification and calibration status. Check the reference surface itself. An uneven floor or sagging table can create a false failure or false pass.

Step 1: define the lot and draw the sample
Identify the shipment by purchase order, product code, production lot, thickness, size, construction and bundle numbers. The sampling plan should spread selections across bundles and positions. Checking only accessible top sheets can miss variation inside the load.
The plan may be based on an agreed acceptance sampling standard or a buyer-defined risk approach. High-risk or new products may justify more samples. Whatever method is used, record how sheets were selected. Do not quietly replace a failed specimen with an easier one.
Step 2: record conditioning and support
Record the warehouse temperature and relative humidity, panel surface temperature when relevant, and time since the sample left the bundle. A newly opened panel may not be in the same condition as one exposed for hours.
Place the sheet on the agreed reference. Some methods use a fully flat table; others use defined support points so that measurements can be taken without forcing the sheet. The support arrangement must be the same for supplier and buyer. Avoid pressing the sheet flat by hand while measuring.
Mark the panel orientation as length, width, face and back. This makes photos and repeat measurements comparable.
Step 3: measure bow
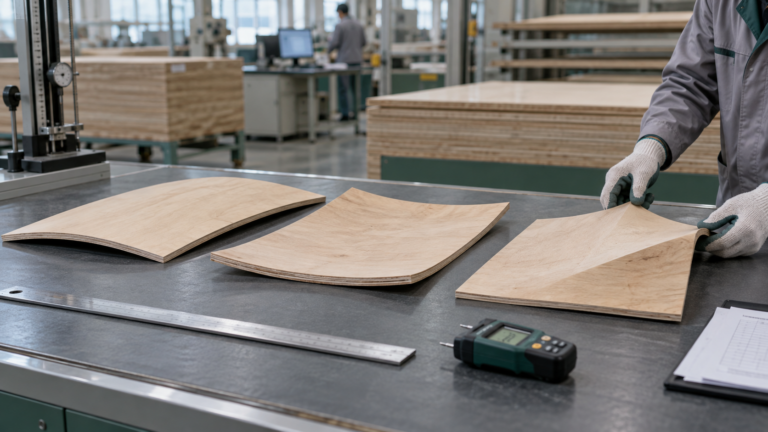
Bow is curvature along the long direction. Position the straightedge or reference according to the agreed method, commonly along the centreline and, when required, additional parallel lines. Measure the maximum gap between the panel and reference without forcing contact.
Record the location, magnitude, direction and panel side. If the panel rocks on the support, check for twist before assigning the reading to bow. Repeat the measurement after turning the panel only if the procedure requires it, and keep the orientation record clear.
Step 4: measure cup
Cup is curvature across the width. Measure at the agreed cross sections, such as near each end and at the centre. Local core defects can create a short depression that should be reported separately from whole-sheet cup.
For 6mm, 8mm and 9mm panels, handling can influence the reading. Use enough people or a lifting aid to avoid introducing temporary bend, and allow the sheet to rest in the test position before recording the gap.
Step 5: measure twist or corner lift
Twist means the corners do not share one plane. With the panel on the agreed support, establish contact at the defined points and measure lift at the remaining corner or use the specified diagonal method. Do not push each corner down in turn and average the result unless that procedure is explicitly agreed.
A photo should show the whole panel orientation and a close view of the measuring point. Include the sample ID and a readable scale.

Step 6: map moisture, not just one point
Take moisture readings at a defined grid on the face and back. Include centre and edge zones, and avoid metal, repairs or wet surface contamination that can distort some meter types. Note whether readings are pin or pinless and which correction or setting was used.
The purpose is to see patterns. A single average may hide one wet edge or a face-to-back difference. Compare panels from different bundle positions. If readings are unusual, confirm the instrument and method before drawing a conclusion.
Moisture readings are screening evidence, not a full laboratory analysis. When the dispute or regulatory need justifies it, agree on a reference method and sealed samples.
Step 7: check thickness and thickness variation
Measure thickness at the agreed number of points, normally away from edges and local repairs unless the specification says otherwise. Record each value, not only the average. The correct locations and tolerance depend on the purchase specification and referenced product standard.
A thickness pattern can help diagnose sanding bands, core overlaps or press variation. Compare findings with the local flatness result. Kosmex’s standard plywood size guide explains why nominal size and actual measured size should not be confused.
Step 8: verify dimensions, diagonals and squareness
Measure length and width with the agreed method. Then compare diagonals. A difference can indicate an out-of-square sheet even if both edge dimensions look acceptable. Check edge straightness and visible damage because crushed or swollen edges may affect assembly.
Record the measurement temperature if tight dimensional tolerances matter. Keep the tape supported and use consistent tension. For large sheets, two-person measurement may be more repeatable.

Step 9: inspect surface, core and bond indicators
Look for blisters, delamination, open edges, core gaps, overlaps, sanding-through, patches, splits, contamination and repair quality. Use the face and back grade rules in the order, not personal preference. If a destructive edge or cross-cut check is required, identify it in the sampling plan and preserve the piece.
Flatness and bond are different characteristics. A flat sheet can have a poor bond, and a well bonded sheet can be out of flat. Screening soak tests should not be presented as a certification test unless they follow the agreed standard and laboratory conditions.
Step 10: record, decide and control nonconforming material
Every result should map to the sample ID, lot and acceptance limit. Use pass, fail or review categories defined before inspection. If a result is near the limit, repeat it according to the approved method rather than choosing the more favourable reading.
Segregate nonconforming bundles. Define who may authorise sorting, rework, reinspection or concession. A concession should identify the affected quantity and revised use. Do not mix rejected panels back into accepted stock without traceable approval.
Recommended inspection report fields
| Section | Fields to include |
|---|---|
| Order | Buyer, supplier, PO, product code, construction, lot, quantity |
| Environment | Date, location, temperature, relative humidity, conditioning time |
| Sampling | Plan, bundle numbers, sheet positions, sample IDs |
| Equipment | Instrument ID, resolution, calibration status, reference surface check |
| Results | Bow, cup, twist, moisture grid, thickness points, dimensions, diagonals, defects |
| Evidence | Overview and close photos with readable scale and labels |
| Decision | Acceptance limit, pass or fail, segregated quantity, authorised disposition |

Common inspection mistakes
- measuring on an unknown or uneven floor;
- checking only the top sheet of each bundle;
- combining bow, cup and twist into one vague note;
- pushing the panel flat while measuring;
- taking one moisture reading and calling it representative;
- omitting conditioning time and room climate;
- using an uncalibrated tool or unsuitable meter setting;
- photographing a gap without panel ID, location or scale;
- changing the acceptance limit after seeing results;
- repacking on uneven bearers after a successful inspection.
Connect inspection to factory and logistics controls
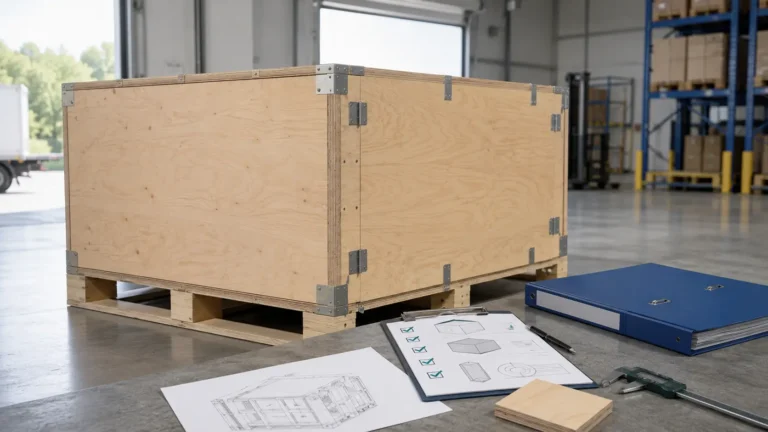
Inspection catches a result; process control reduces the chance of failure. When a panel fails, review veneer moisture, lay-up, glue, pressing, conditioning and sanding records using Kosmex’s plywood flatness control guide. Then preserve the accepted result with the support and moisture protections described in the plywood storage and shipping guide.
Before approving the supplier, request the relevant records listed in documents to request from a Vietnam plywood supplier. The strongest shipment release is a connected file: approved sample, construction revision, process records, inspection report, packing photos and container loading evidence.
Final pre-shipment release check
Confirm that samples were representative, instruments were suitable, conditioning and support matched the agreement, each characteristic passed its stated limit, nonconforming stock was controlled and the released bundles were packed on aligned supports. Sign and date the report before loading.
This method does not require a complicated laboratory for every order. It requires consistency. A modest set of tools, used with a defined procedure and traceable sample IDs, is more valuable than an impressive photo with no repeatable method.
Frequently asked questions
How do you measure plywood flatness?
Condition and support the panel as agreed, then measure bow along the length, cup across the width and corner lift for twist with calibrated equipment at defined locations.
Should plywood be inspected on the floor?
Only if the floor has been verified as a suitable reference. A known flat table, frame or agreed support is more reliable than an unknown warehouse floor.
How many sheets should be checked?
The buyer and supplier should agree a sampling plan based on lot size, risk and acceptance quality. One convenient top sheet is not representative of a full shipment.
Why measure moisture during a flatness inspection?
Moisture readings help explain gradients between faces, locations or bundles. They do not replace flatness measurement, but they add essential diagnostic context.



Bình luận